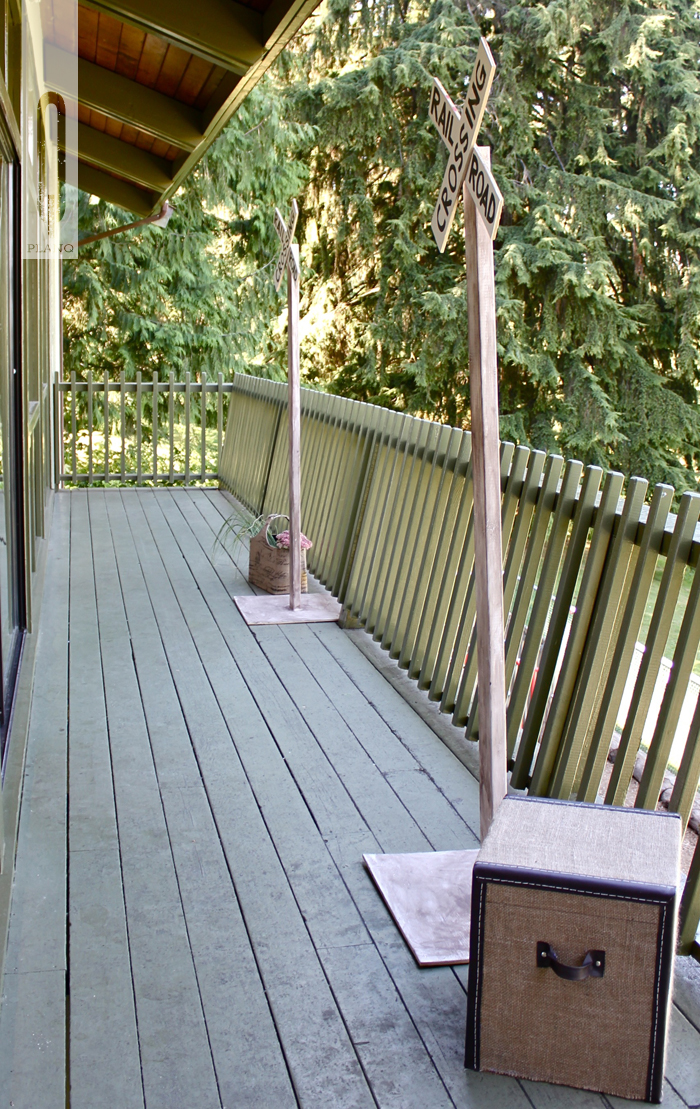
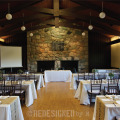
As the concept for my wedding was vintage travel set in Provence, I wanted to create a train station atmosphere for the reception venue. Part of how I made that happen was to dress up the balcony as a train platform. Railroad crossing signs were a definite must, but the platform needed some traveling trunks, like you see in old movies. I scoured thrift shops from Seattle to Toronto, but I came up empty handed of the perfect suitcases. Or, they were too too expensive! (I’m talking about $40+…. not exactly the type of money I was willing to shell out for props.)
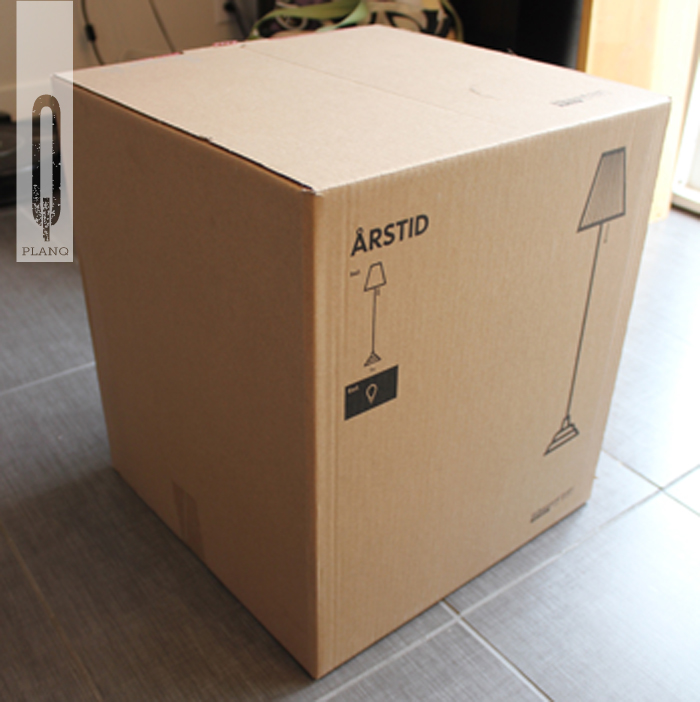
Then, I had this perfect box left over from my Ikea hacked lamps project and I knew it had to be saved to use for something awesome. Here’s how I turned it into a trunk prop for my train platform.
Supply List
• 1 - Cardboard box
• Box filler, such as Styrofoam or newspaper
• Fabric shears
• some Burlap
• 1/4 yard of Vinyl
• Sewing thread and needle
• 4 - Metal thumb tacks (or upholstery tacks)
• 1 - Metal clasp
• Hot glue gun and glue sticks
• Sharpie pen
Step-by-Step
Step 1
FILL THE BOX. Starting with an empty box, fill it with anything that will give the box sturdiness, so it won’t get crushed in. I used leftover Styrofoam from a home improvement project, which was easy to cut and fit into the void perfectly. Close flaps, but it is unnecessary to seal.
Steps 2-3
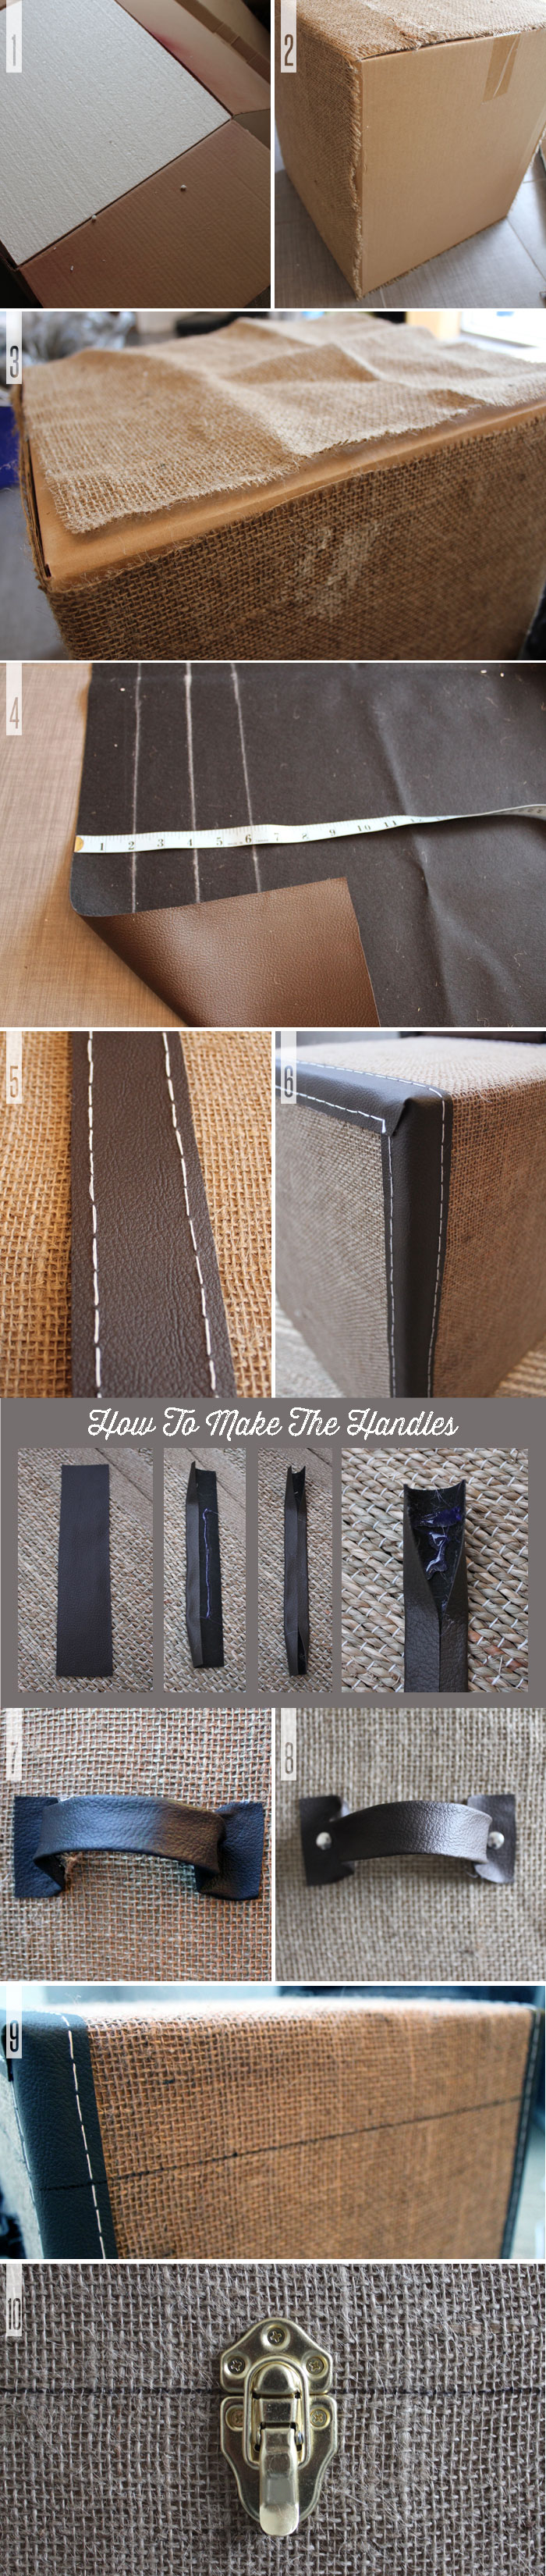
COVER THE BOX. Cut burlap to size and wrap around the box. Secure with hot glue. Don’t worry about the frayed burlap edges. They will get covered up in Step 6.
Step 4
COVER THE CORNERS. Cut strips of vinyl or leather (I used vinyl because it was cheaper) to cover the edges of the box. My strips were cut at two inch widths, but they should be adjusted proportionately to the size of your box.
Step 5
Using white, or a light-colored, thread, sew large stitches onto the vinyl strips. I hand sewed this because my sewing machine doesn’t do the large stitches I was going for.
Step 6
Again with the hot glue gun, apply strips to the vertical edges of the box and the top edges of the “trunk lid.”
Steps 7-8
CREATE THE HANDLES. I cut shorter strips of the same vinyl and folded the edges into the middle, hot gluing everything down, leaving the top and bottom ends open. Attach two handles to the sides of the trunk, opening up the ends so they lay flat and splay out, as shown. “Rivet” the handles with thumb tacks. I just stuck them in and they held in place.
Step 9
DRAW IN THE LID. Using a Sharpie and a straight edge, draw in a line at the top of the trunk where the lid would be located all around the sides of the trunk.
Step 10
CREATE A LOCK. Fasten a metal clasp hinge to the front of the trunk. I got a two part clasp and joined the pieces together where the “lid” line meets. I hot glued the clasp to the trunk and also pushed in the screws that came with the clasp to finish off the look. The screws are just pushed right in and the cardboard and Styrofoam holds them in place without any problems.
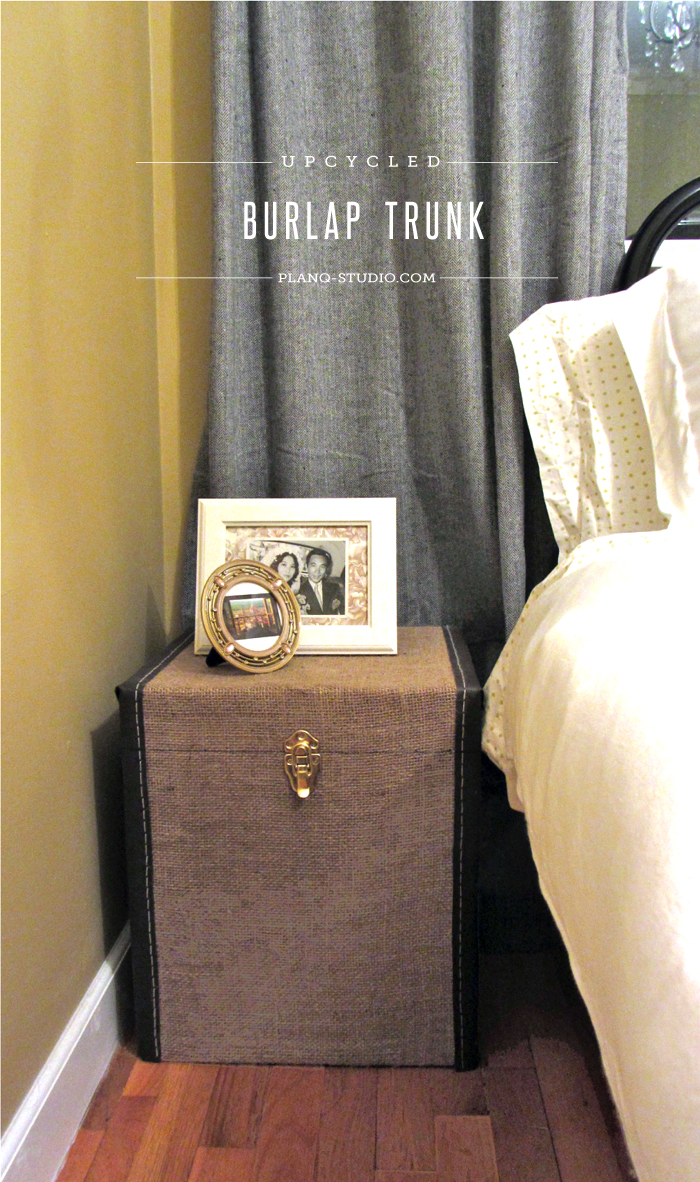
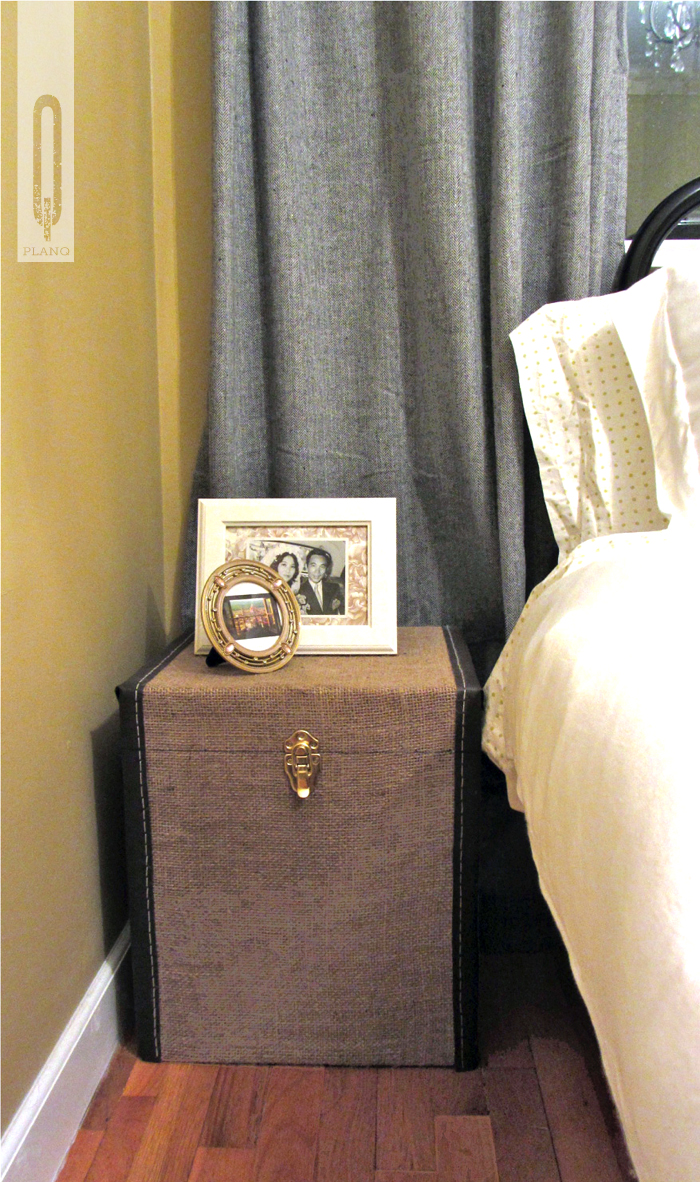
And voilà, the finished vintage traveling trunk prop on the train platform at the wedding reception!
It now looks great as a night stand in the guest room! How’s that for repurposing?
Project Summary
Total time: It took about an afternoon watching TV. Most of the time was spent in hand sewing the vinyl strips, but it came together really quickly. And no dry time because everything was hot glued!
Total cost: The burlap was leftover from my table runners, the cardboard box and Styrofoam filler were repurposed from other projects, and thumb tacks were from my stash of office supplies, so those materials were all free. The vinyl was $2 and the clasp was $3 from Home Depot. That’s a total of $5 for a train prop turned guest room nightstand. Woohoo!
If you missed any part of the Project Wedding series, you can view them here:
How It All Began
The Ceremony
Pom Poms and Fans
Tin Punched Candle Holders
No Sew “Just Married” Bunting
The Dress
DIY Hair Fascinator
The Reception
Creating The Invitations
DIY Ticket Booth
Passport Guest Book
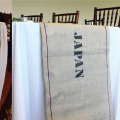
Stenciled Burlap Table Runners
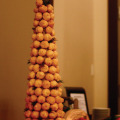
Our Wedding Cake Alternative
Traveling Trunk Prop
DIY Photo Booth Props
Out of Town Gift Boxes
Organize Your Wedding Mementos
Tips For Planning Your Engagement Photo Shoots
this is fantastic! I would love to use that suitcase idea for displays…very crafty.
Thanks! I’m actually quite impressed with myself for thinking of it all on my own. =)
Now that is really cool! I never would have thought of that. I’m going to have to try it
Please do! It’s such a budget friendly DIY if you have all the materials around the house. Let me know how it turns out! ~M.
A brilliant idea!
Thank you so much!
Reblogged this on rdhomestaging and commented:
Hey everyone if you want to know just how easy it can be to be creative, inventive and downright clever re-inventing an ordinary cardboard packing box you need to read this blog.
Thanks for the love! ~M.
Great come back M! LOVE YOUR SITE! The design, the about page, the series…just about everything! And love this particular hack! Great to have you around …missed you in the blogosphere!
Thank you so much, Supriti! It definitely feels good to be back and very nice to be missed!