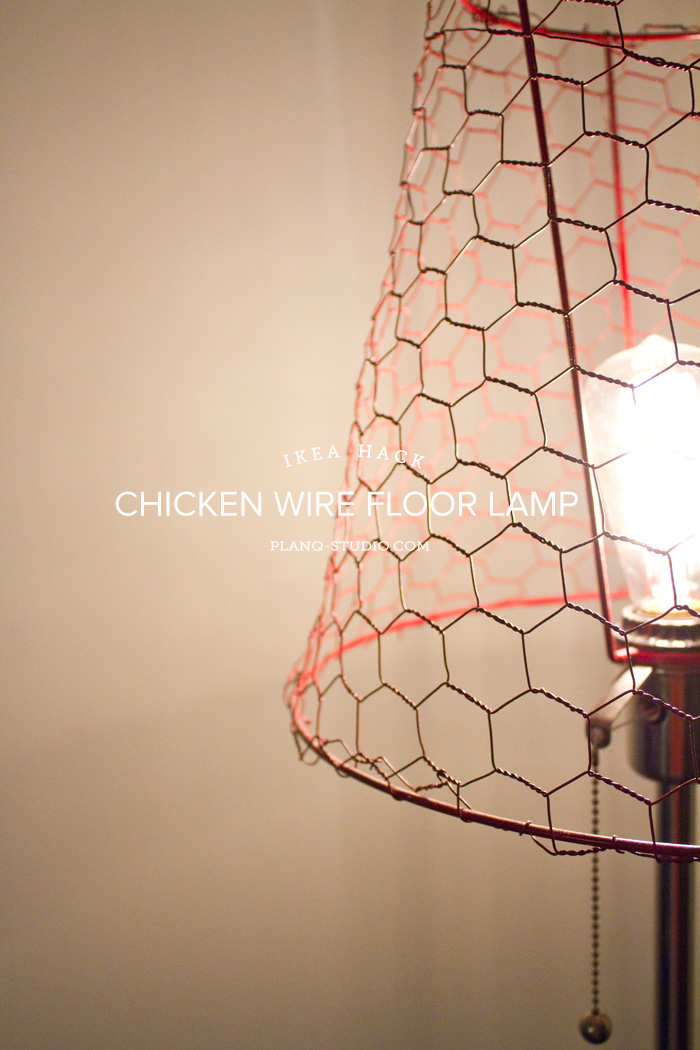
This chicken wire floor lamp was actually created soon after Mr. M and I moved into our home. Our living room needed some lighting as there was no overhead light. I decided the room needed a couple of floor lamps to flank the sofa table behind our sectional. Not satisfied with the price of floor lamps or the basic Ikea-ness of all Ikea lamps, I worked on my first furniture hack.

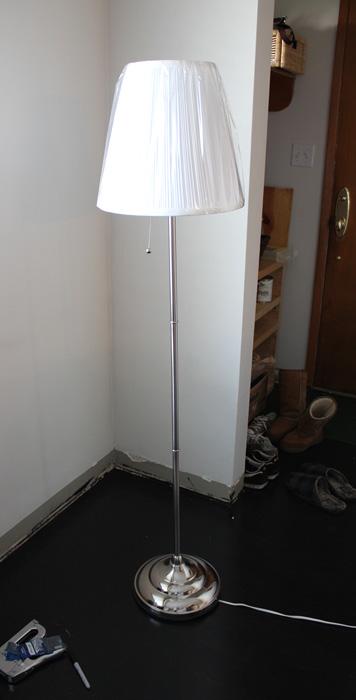
I chose the Ikea Arstid Floor Lamp to redesign. I didn’t mind the lamp base, but I wanted the lamp shade to be a bit more unique. Originally, I thought about doing pharmacy lamps, but they were either too expensive or too short. (I have a lot of space to fill in my room.) Using this idea, I stuck with my intent to have metal shades for my lamps, which somehow made me think of chicken wire. Armed with this wonderful tutorial, I marched right down to the closest Ikea and Home Depot to pick up the supplies. Here’s what I used:
Supply List
• 2 - Ikea Arstid Floor Lamps with fabric shade; keep the boxes in tact (you’ll see why!)
• 1 - roll of chicken wire, hexagonal pattern (they also come in square gridded pattern)
• 1 - pair of wire cutters
• 1 - pair of scissors
• 1 - pair of pliers
• 1 - X-acto knife
• 1 - Sharpie
• Goo-Gone
• Rubbing alcohol
• Cleaning rag
• 1 - can of spray paint (optional)
•
And a cutting mat to keep my table surface free from scratches.
Step-by-Step
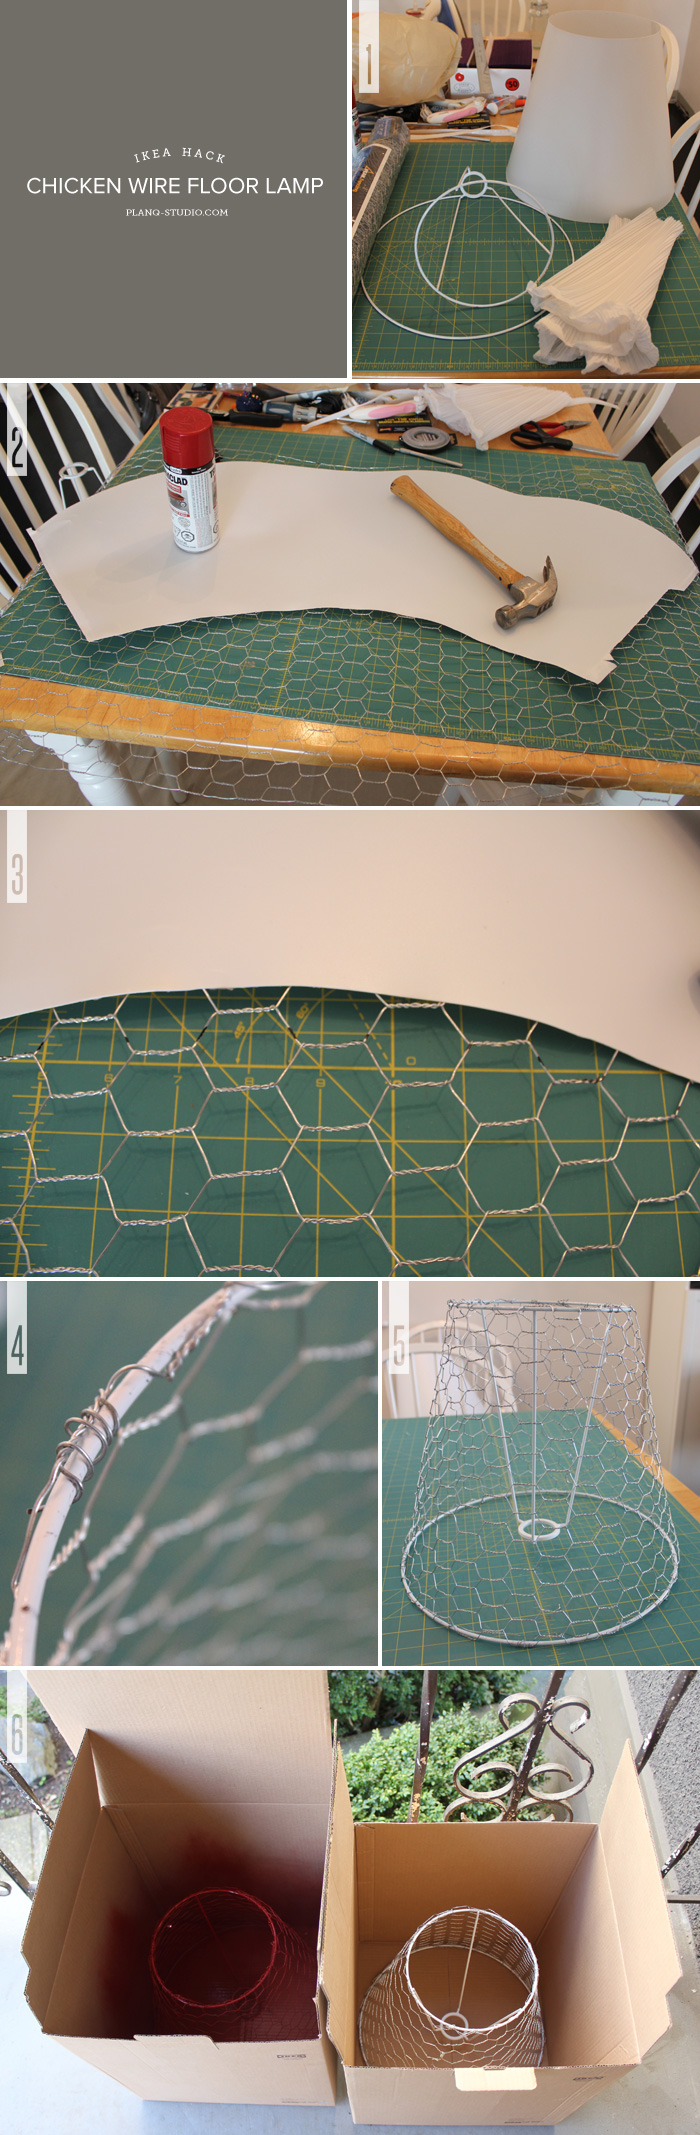
Step 1
DISASSEMBLE. Using the X-acto knife, take apart the lampshade. Clean off any sticky gunk on the metal rims. I used Goo-Gone and then followed up with rubbing alcohol to completely get rid of the greasiness.
Step 2
MAKE YOUR TEMPLATE. My lampshade had a plastic liner. I took this apart and used it as a template. Draw your template about 1/4″ longer at the top and bottom of the shade. Since I was able to take the shade apart at the seam, I kept the length the same size.
Step 3
CUT. You can see in this photo where I drew my template for the shade. (They’re in black marks on the wire.) With the wire cutters, cut at all the black marks you made.
Step 4
WRAP. This is the part that takes the longest. Using the wire rims from your shades, wrap the chicken wire around the rims. This process will be easier if you wrap strips of aluminum wire around the chicken wire and rim to keep the chicken wire from popping off. I used the strip of wire that held the roll of chicken wire together to join the wire shade at the seam. The edges will be sharp, so I spent a good amount of time making sure all the sharp wires were buried properly. It might be a good idea to wear protective gloves in this step. Safety first!
Step 5
ALMOST DONE! And now you have a beautiful new shade made of chicken wire! Stand back and admire your handiwork!
Step 6
PERSONALIZE IT! Normal gray chicken wire wasn’t good enough for me, so I decided to paint my shade with a can of red spray paint. The associate at Home Depot recommended Tremclad as they’re a good product for metal surfaces. I recycled the boxes the lamps came in by using them for my spray job (this is why I told you not to get rid of them!). Using these boxes were great because a) you know the shade will fit into the box, b) the flaps closed and helped to keep away any dust or debris from flying in. The photo above shows one shade painted (left) and another in its natural state (right). It took about two coats to do a proper paint job. **Tip: Turn the shade upside down after the first coat.
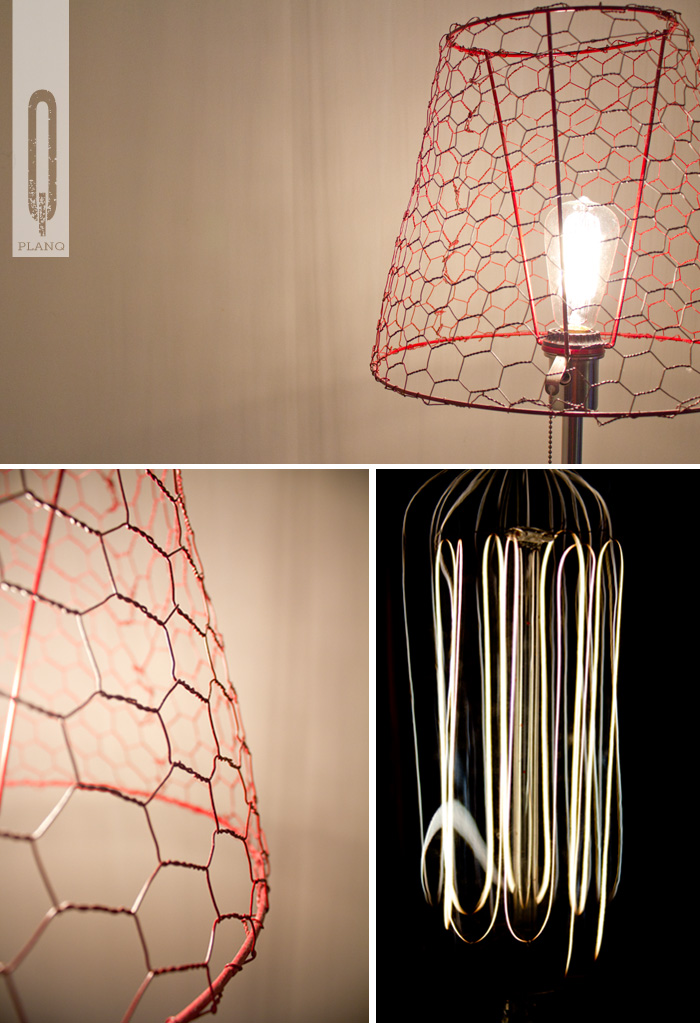
Finish off the lamps with Edison light bulbs. I just love me some Edison bulbs. If you didn’t already know how much I love them, go read this post here.

Project Summary:
Total Time: 2 hours for each shade, not including dry time between paint coats.
Total Cost: $112 for two lamps, including tax; chicken wire, wire cutters, and paint were free as they were paid with a gift card. Those items were an estimated $35.
Take a look at how I repurposed those cardboard boxes / spray booths these lamps came in!
I’ve linked up this project at these parties here.

What a great idea this would be awesome in my little boys room!!
Cassie
Awww… that would be cute indeed! Be sure to let me know how your version turns out. ~M.
Thanks for sharing at the Link Up. I love chicken wire. I redid an old screen door with chicken wire last summer. I love your creative ideas.
Lory xo
Did you? That sounds like an amazing idea! Do you have a photo to share? I need a gate in my garden and have been wracking my brain on what to do as it’s an odd size and I don’t want to spend an arm and a leg for something without charm. Perhaps chicken wire is the answer! ~M.
M, this looks so chic compared to the drab old white. You’ve a clever thing! Thanks for sharing at Five Star Frugal….xxx
Seriously drab, that old white shade! Thanks for the feedback! ~M.