Continued from Day 2.
Let me just preface by saying that my fiancé and I both woke up with EXTREMELY sore bodies today. Why P90X when you can stain floors?
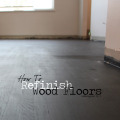
Step-by-Step
Step 1
Tack cloth. This step added to the pain that our muscles were already feeling from all the sanding and corner cutting. EVERY surface needed to be wiped down. Don’t overlook any ceiling corners, blind slats, window sills, vent ducts, walls, everything.
Step 2
Tape door casings and any other areas you don’t want stained.
Step 3
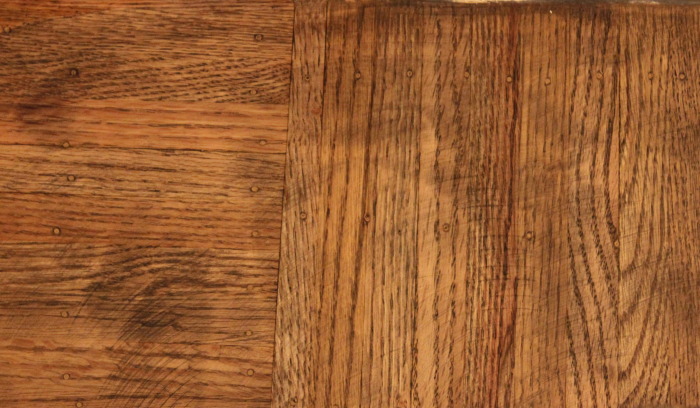
Staining. At first we did a test area with oil stain. This didn’t look good. Primarily, it was because the oil stain was semi-transparent and our goal was to achieve a black color with the wood grain slightly showing through. In reality, we needed solid stain. What a bad oversight on my part!
We went back to the store to pick up a new gallon of solid stain in the same color. Another reason for us to use solid over semi-transparent: It would take four coats of the semi versus one coat of the solid to get the effect we wanted. We also picked up the varnish while we were there. The store where we got the stain only had water based varnish which worked out well for us because we wanted to do a water-based stain and varnish to reduce off gassing and odors.
FYI: Originally, we were going to do oil-based stain because the color ran so much deeper than the water-based stains. Plus the price is much better for oil stains. We were also told that the water-based varnish would help to reduce off gassing since that is the last step. Then we were told by our stain guy that the oil varnish wouldn’t stick to the water stain. Why would other associates tell us we could apply oil on top of water if it couldn’t be done?
The final and my favorite answer is this: Water-based varnishes have come a long way and work on oil a lot better than they used to. That being said, if you’re using a light color stain like pine and maple, water based is OK. But if your stain is dark like walnut or mahogany, use oil varnish as the water stain could lift the dark color.
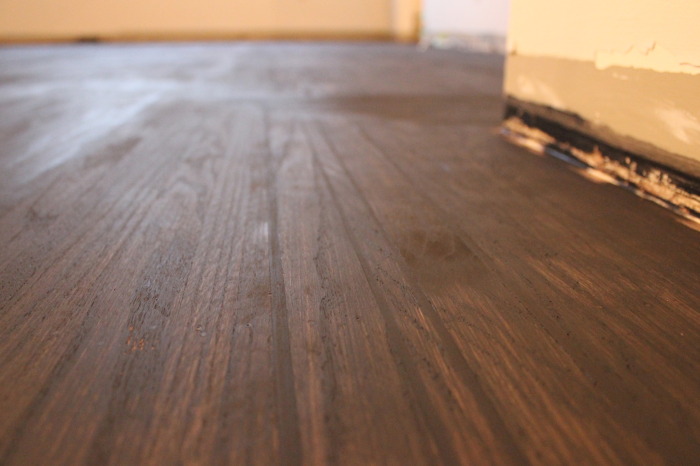
The first coat was done like the video showed. We applied the stain with a rag, but the stain didn’t seem to go on very thickly so I suggested we try to apply it with the applicator. This proved to be much more effective. The stain went on thicker and the job was ten times easier and faster. I followed through with wiping the stain off with a rag. Knee pads are definitely recommended for this step.
Finally, we were able to rest for 8 hours as we waited for the first coat to dry.
Step 4
Buffing. Water-based stains can raise the “hairs” of the wood more easily than oil-based stains. Because of this, the floors felt quite rough to the touch and this wasn’t good enough for us. We didn’t even want to think about sandpapering the entire space on our hands and knees after all the sanding we’d done yesterday. So we rented a buffing machine from Home Depot - like the video showed. The rental guy suggested the square buffer to us instead of the round buffer as it was easier to handle for first-timers (that’s us!). As soon as the machine started, I got scared off by how much stain it took off.
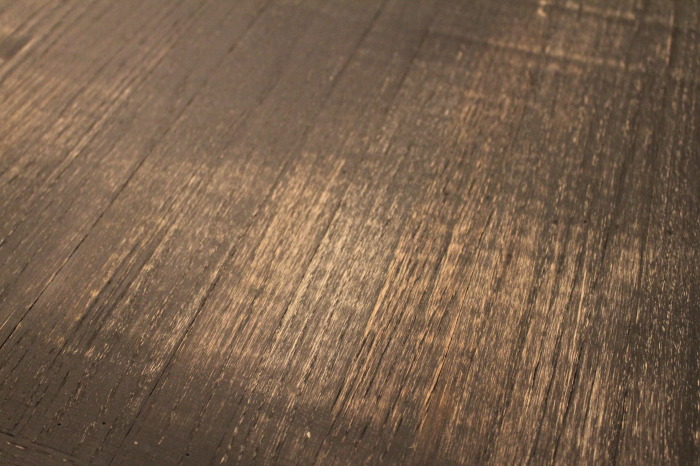
However, there was no denying that the floors felt much smoother after being buffed out. I continued on with the machine while my fiance ran the edges of the room with the same grit sandpaper (100 grit), hoping the second coat would cover up all the imperfections the buffer created.
Step 5
Vacuum and tack cloth again. This is so important between each coat. Don’t want any dust bits to get mixed into the floor!
Step 6
Second coat. As we were still really sore from yesterday’s sanding, we tired out pretty quickly from the rag staining. For the second coat, I decided we should skip the part where I wiped off the stain after my fiance applied it. Instead, we both grabbed an applicator and brushed on the stain, starting at opposite sides of the room. We managed our own areas and wiped off after every application using the applicator, keeping a relatively thin and even coat throughout. This process was so much easier and faster! I would recommend going this route over using a rag any day. Just make sure that your coats don’t puddle and bubble. This would require going over each area a few times wiping on and off the stain.
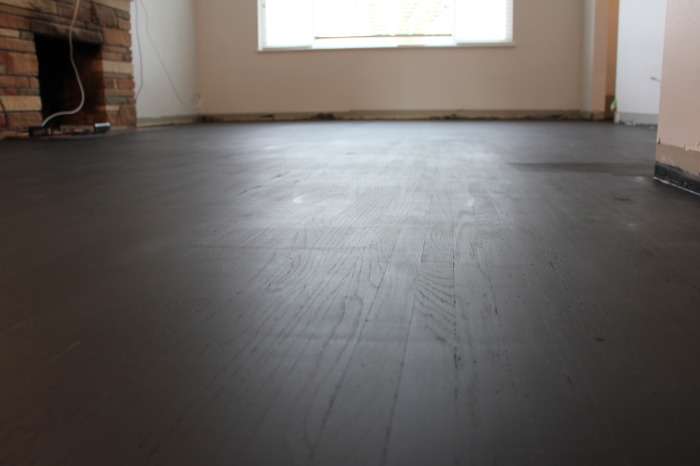
This second coat was done just before we went to bed in order to use the overnight time for the floors to dry.
The saga continues on Day 4!
Did you enjoy this project? Then don’t miss out!
Subscribe to get free email updates.
Love your floors! They look great. We’re hoping to do this in our living room/dining room at some point.
Thank you! All that work really paid off. I still love the floors today and the ebony adds just the right amount of drama to the space. Good luck with your project! Let me know if you need any clarification from my tutorial when that time comes. ~M.