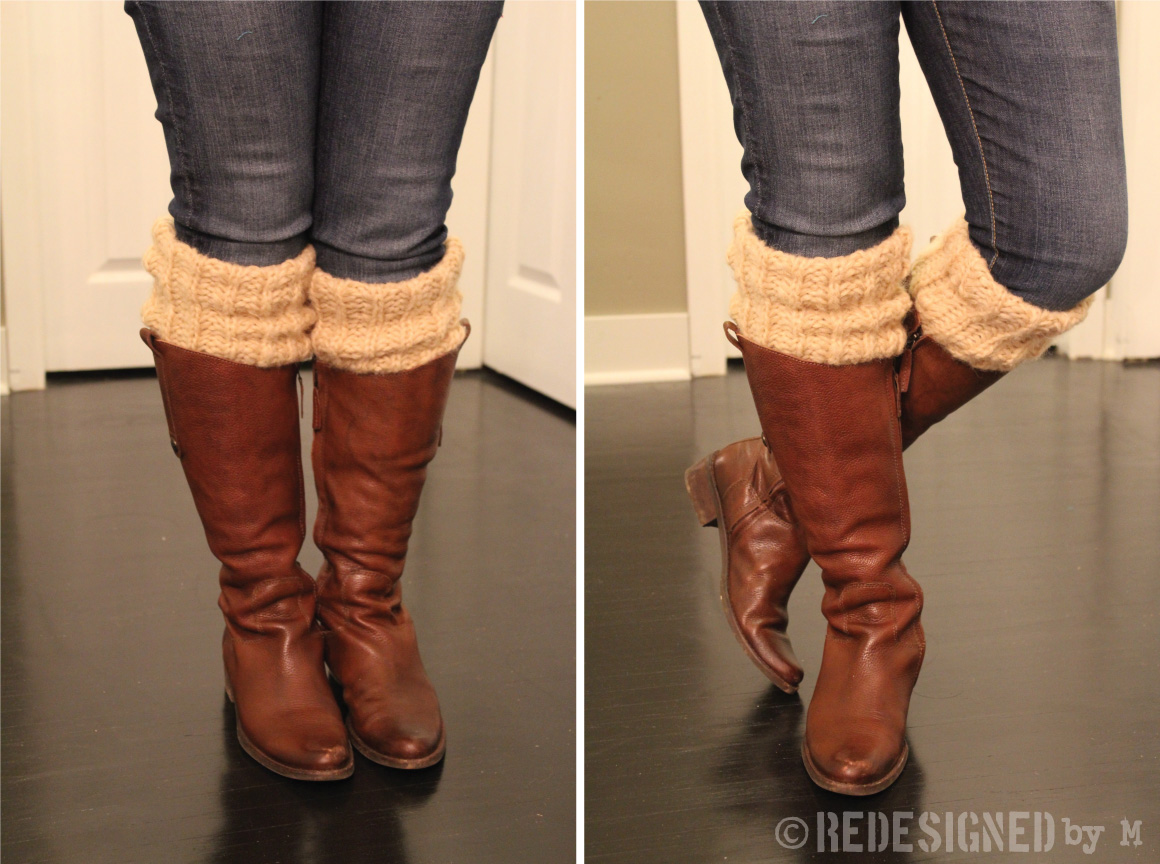
Make Boot Socks Out Of Scarves
/Piggybacking my post from Monday about how to make your own infinity scarves, my Wednesday Repurposed post is how to upcycle a scarf into a pair of boot socks. Now, these aren't full length boot socks with the heels. These boot socks are purely decorative, giving your boots that stylish flair without the added bulk.
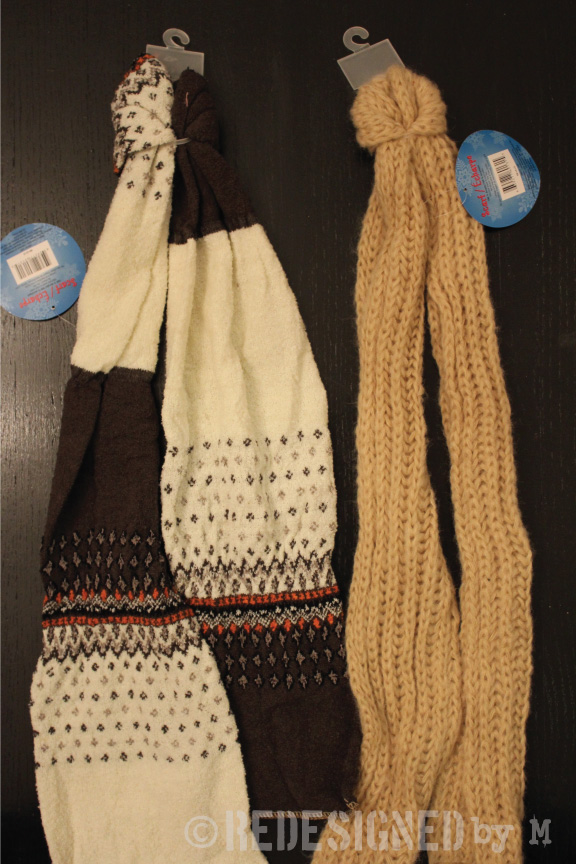
I know you can use the sleeves of an old sweater to easily make these socks, but I didn't have an old sweater I didn't want. However, I did see these scarves hanging on the racks of Dollar Tree and the one on the left had such an interesting pattern that my creative juices immediately began flowing. While I didn't deem either of these scarves quality enough to wear as scarves (come on, this is from the dollar store, remember?), I did think that I could repurpose them into a pair of boot socks I've been wanting. And for $1.40 a pair, I couldn't argue with myself about what a good deal they'd be.
Let's start with the patterned scarf.
Cut.
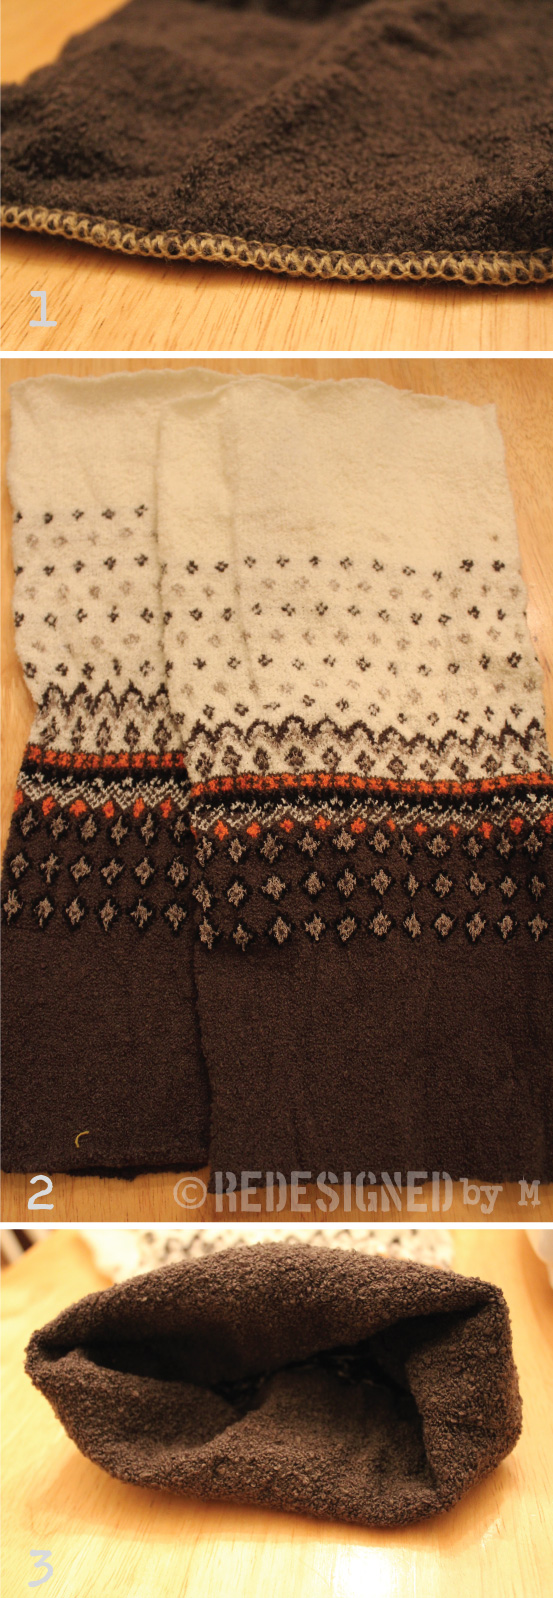
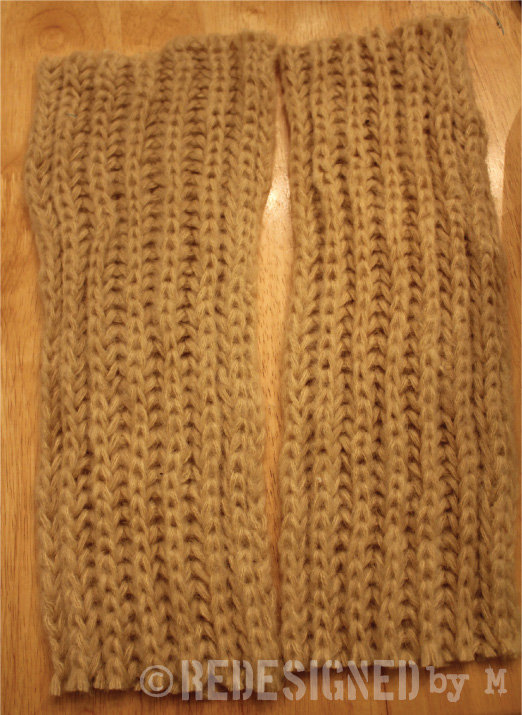
Step 1. As the edges are serged, I cut the scarf around the pattern first, ensuring that the length would cover part of my calf and peek out well beyond my boot. You can always bunch up the sock to show more or less pattern with a long sock, but a short sock will deter your styling slightly.
Step 2. Cut two parts of the scarf identically in length and pattern.
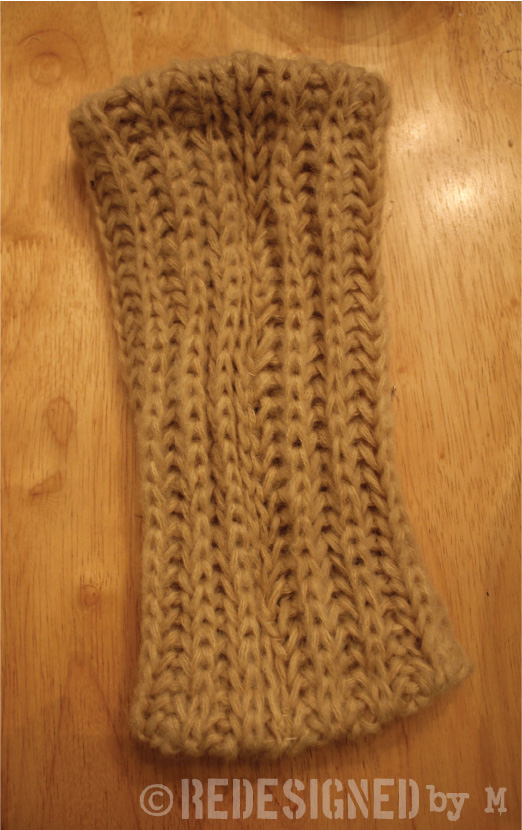
Step 3. This particular scarf was a tubular scarf, so I only had to open it up and could slip my leg through it.
Measure.
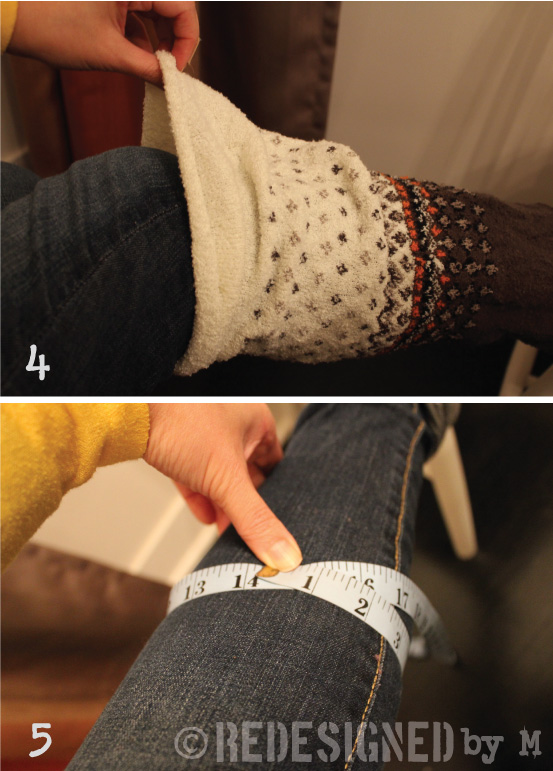
Step 4. However, the scarf was too big around my calves (which are not small).
Step 5. Measure your calves at the widest part. Take this number, deduct 2-4 (depending on how stretchy your material is), and divide by two. Double check your measurement to make sure the scarf will not be too snug or too loose around your calf. Note: the scarf will stretch even more once you fit it around your calf.
Sew.
Step 6. Turn the scarf inside out.
Step 7. Sew a single stitch along the length of the scarf at the width you've determined in Step 5. If you are still uncertain about how wide to sew this part, it's best to err on the larger number. You can always adjust it smaller when you do a final fit. Do your final fit, and if it's the right size, cut off the excess. This type of material didn't require me to stitch along the top or bottom. I could just roll the top unfinished edge in and it behaved just fine. Now, turn your new socks back out and don away!
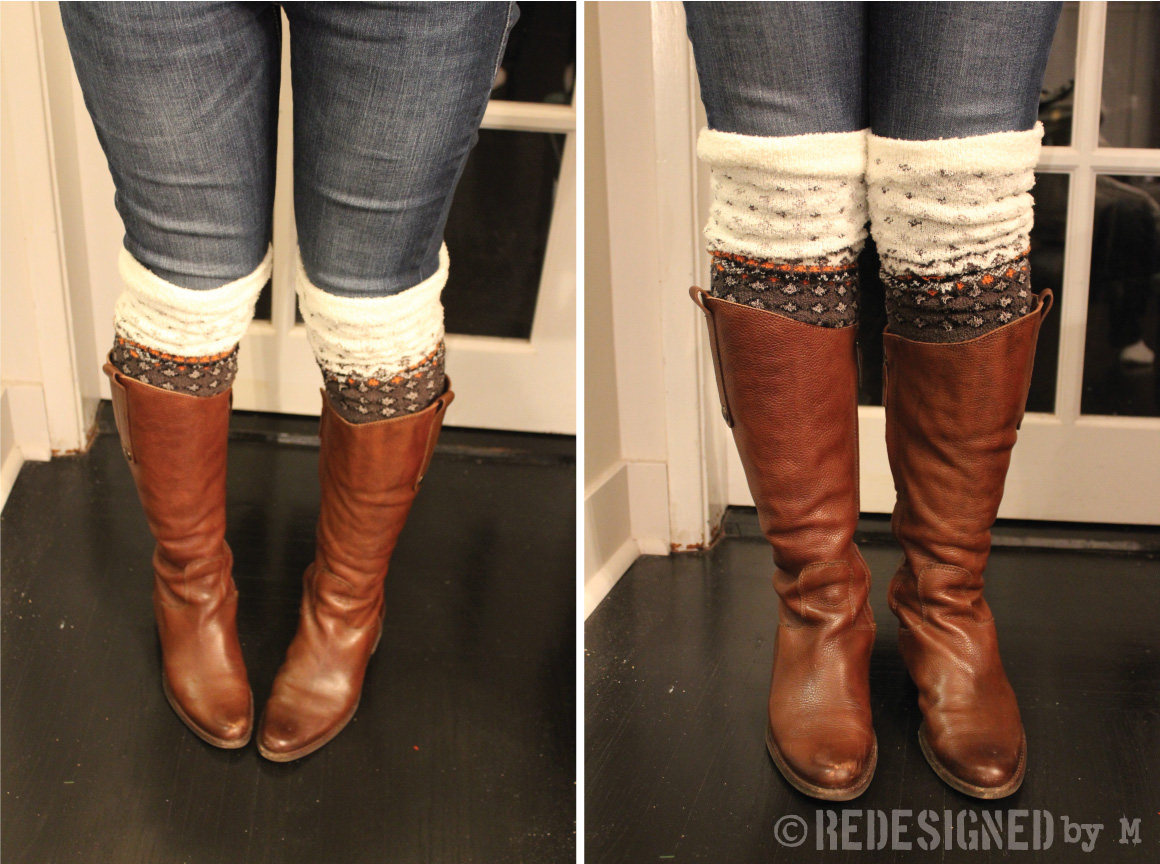
Et voilà! Totally adorbs boot socks from one scarf. Do you think these socks would look just as great if I wore them upside down?
Now, onto the next victim...
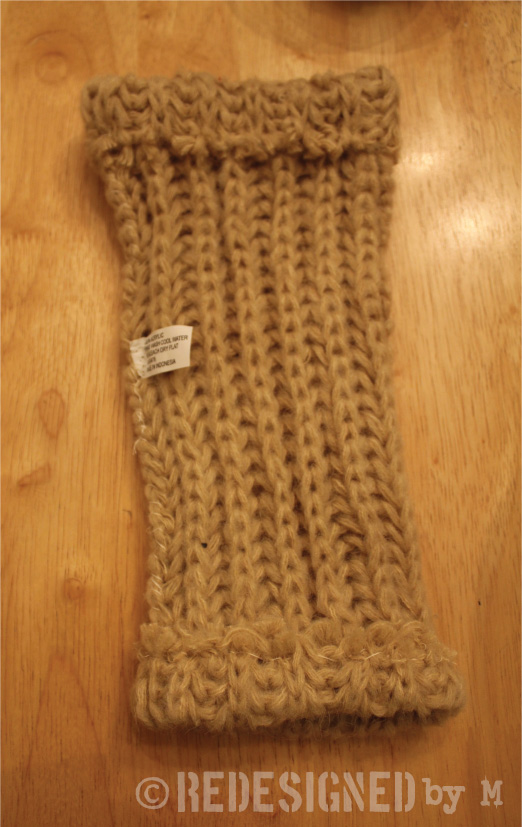
This scarf was not a tubular knit like the other scarf, so I had to cut it in quarters and used two for each sock. One for the "front" of the sock and the other for the "back" of the sock. The width of this scarf was the perfect size for a sock.
This knit scarf was too thick to fit under the presser foot of my sewing machine, so I had to sew the parts together by hand. Then I "hemmed" the tops and bottoms of the socks as the knit was unraveling quite terribly.
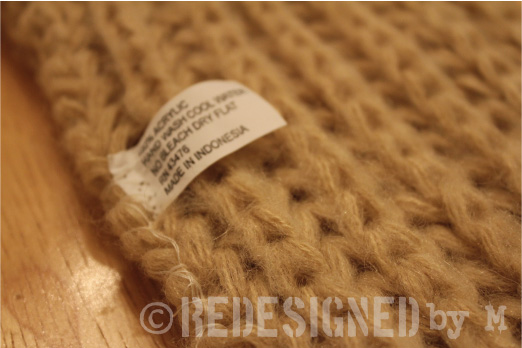
I even kept the original care instructions label and resewed it to the sock. One day, I want customized labels on all of my redesigned and repurposed garments.
Now, turn the sock inside out and wear!
Well, what do you think? I'm not sure which new boot socks I like better. Which one is your favorite?
Total time: The patterned socks took roughly 15 minutes, the majority of which was spent in determining the size so that they'd fit around my large calves comfortably. The knit socks took about 20 minutes, all the time spent in hand sewing.
Total cost: Each pair of socks cost $1.40, including taxes. (In case you're wondering, dollar stores in Canada are actually $1.25 stores, plus our astronomical sales tax of 12% in British Columbia. I know, SOOOOOOOO LAME!)


