

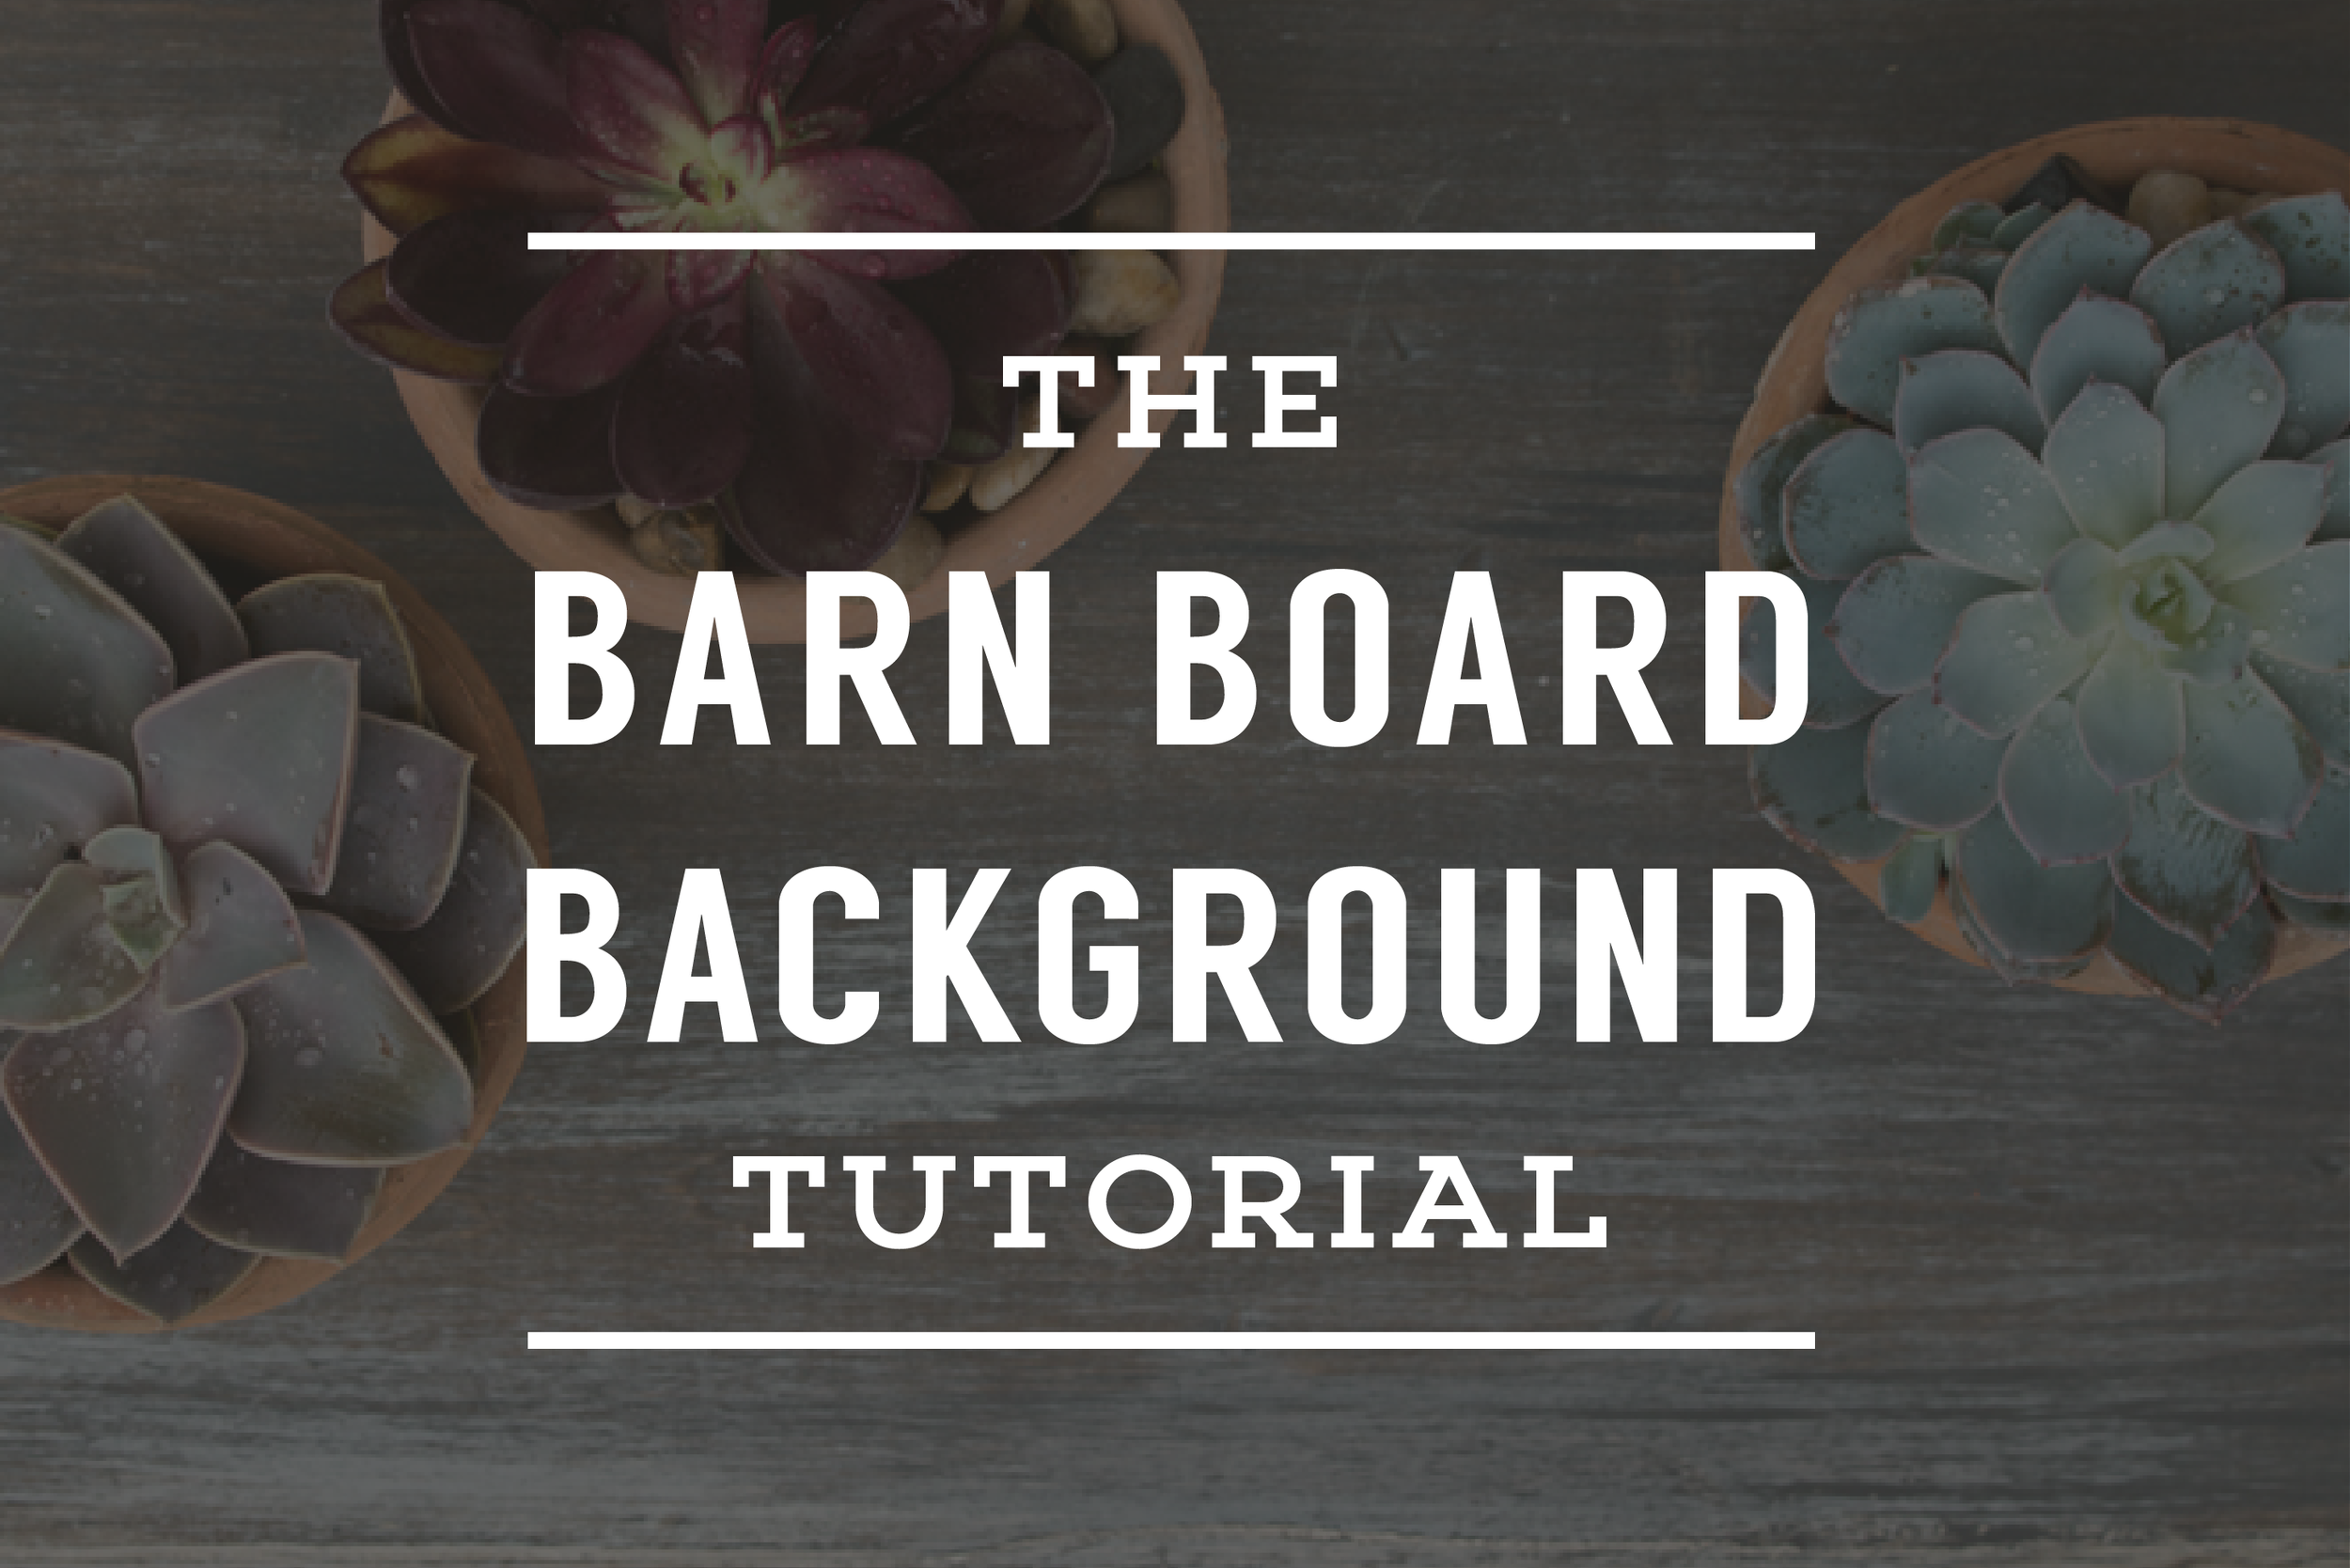
How To Make A Barn Board Background
/
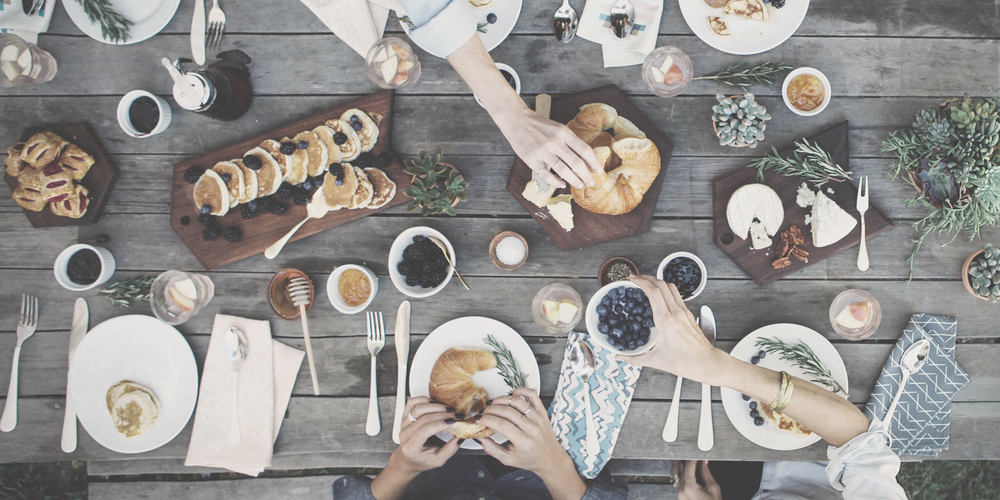
The design concept for this site is based on modern industrialism, which is very much my favorite design style of all time. A close second would have to be the farmhouse look. To me, nothing says "farmhouse" more than barn boards.
Before Home Depot started stocking barn boards, I made my own version for photo backgrounds. I had some plywood boards laying around and a couple hours to kill. A few coats of stain and paint later, I was giddy with excitement (and pride) over achieving a wonderfully photogenic weathered barn board background.
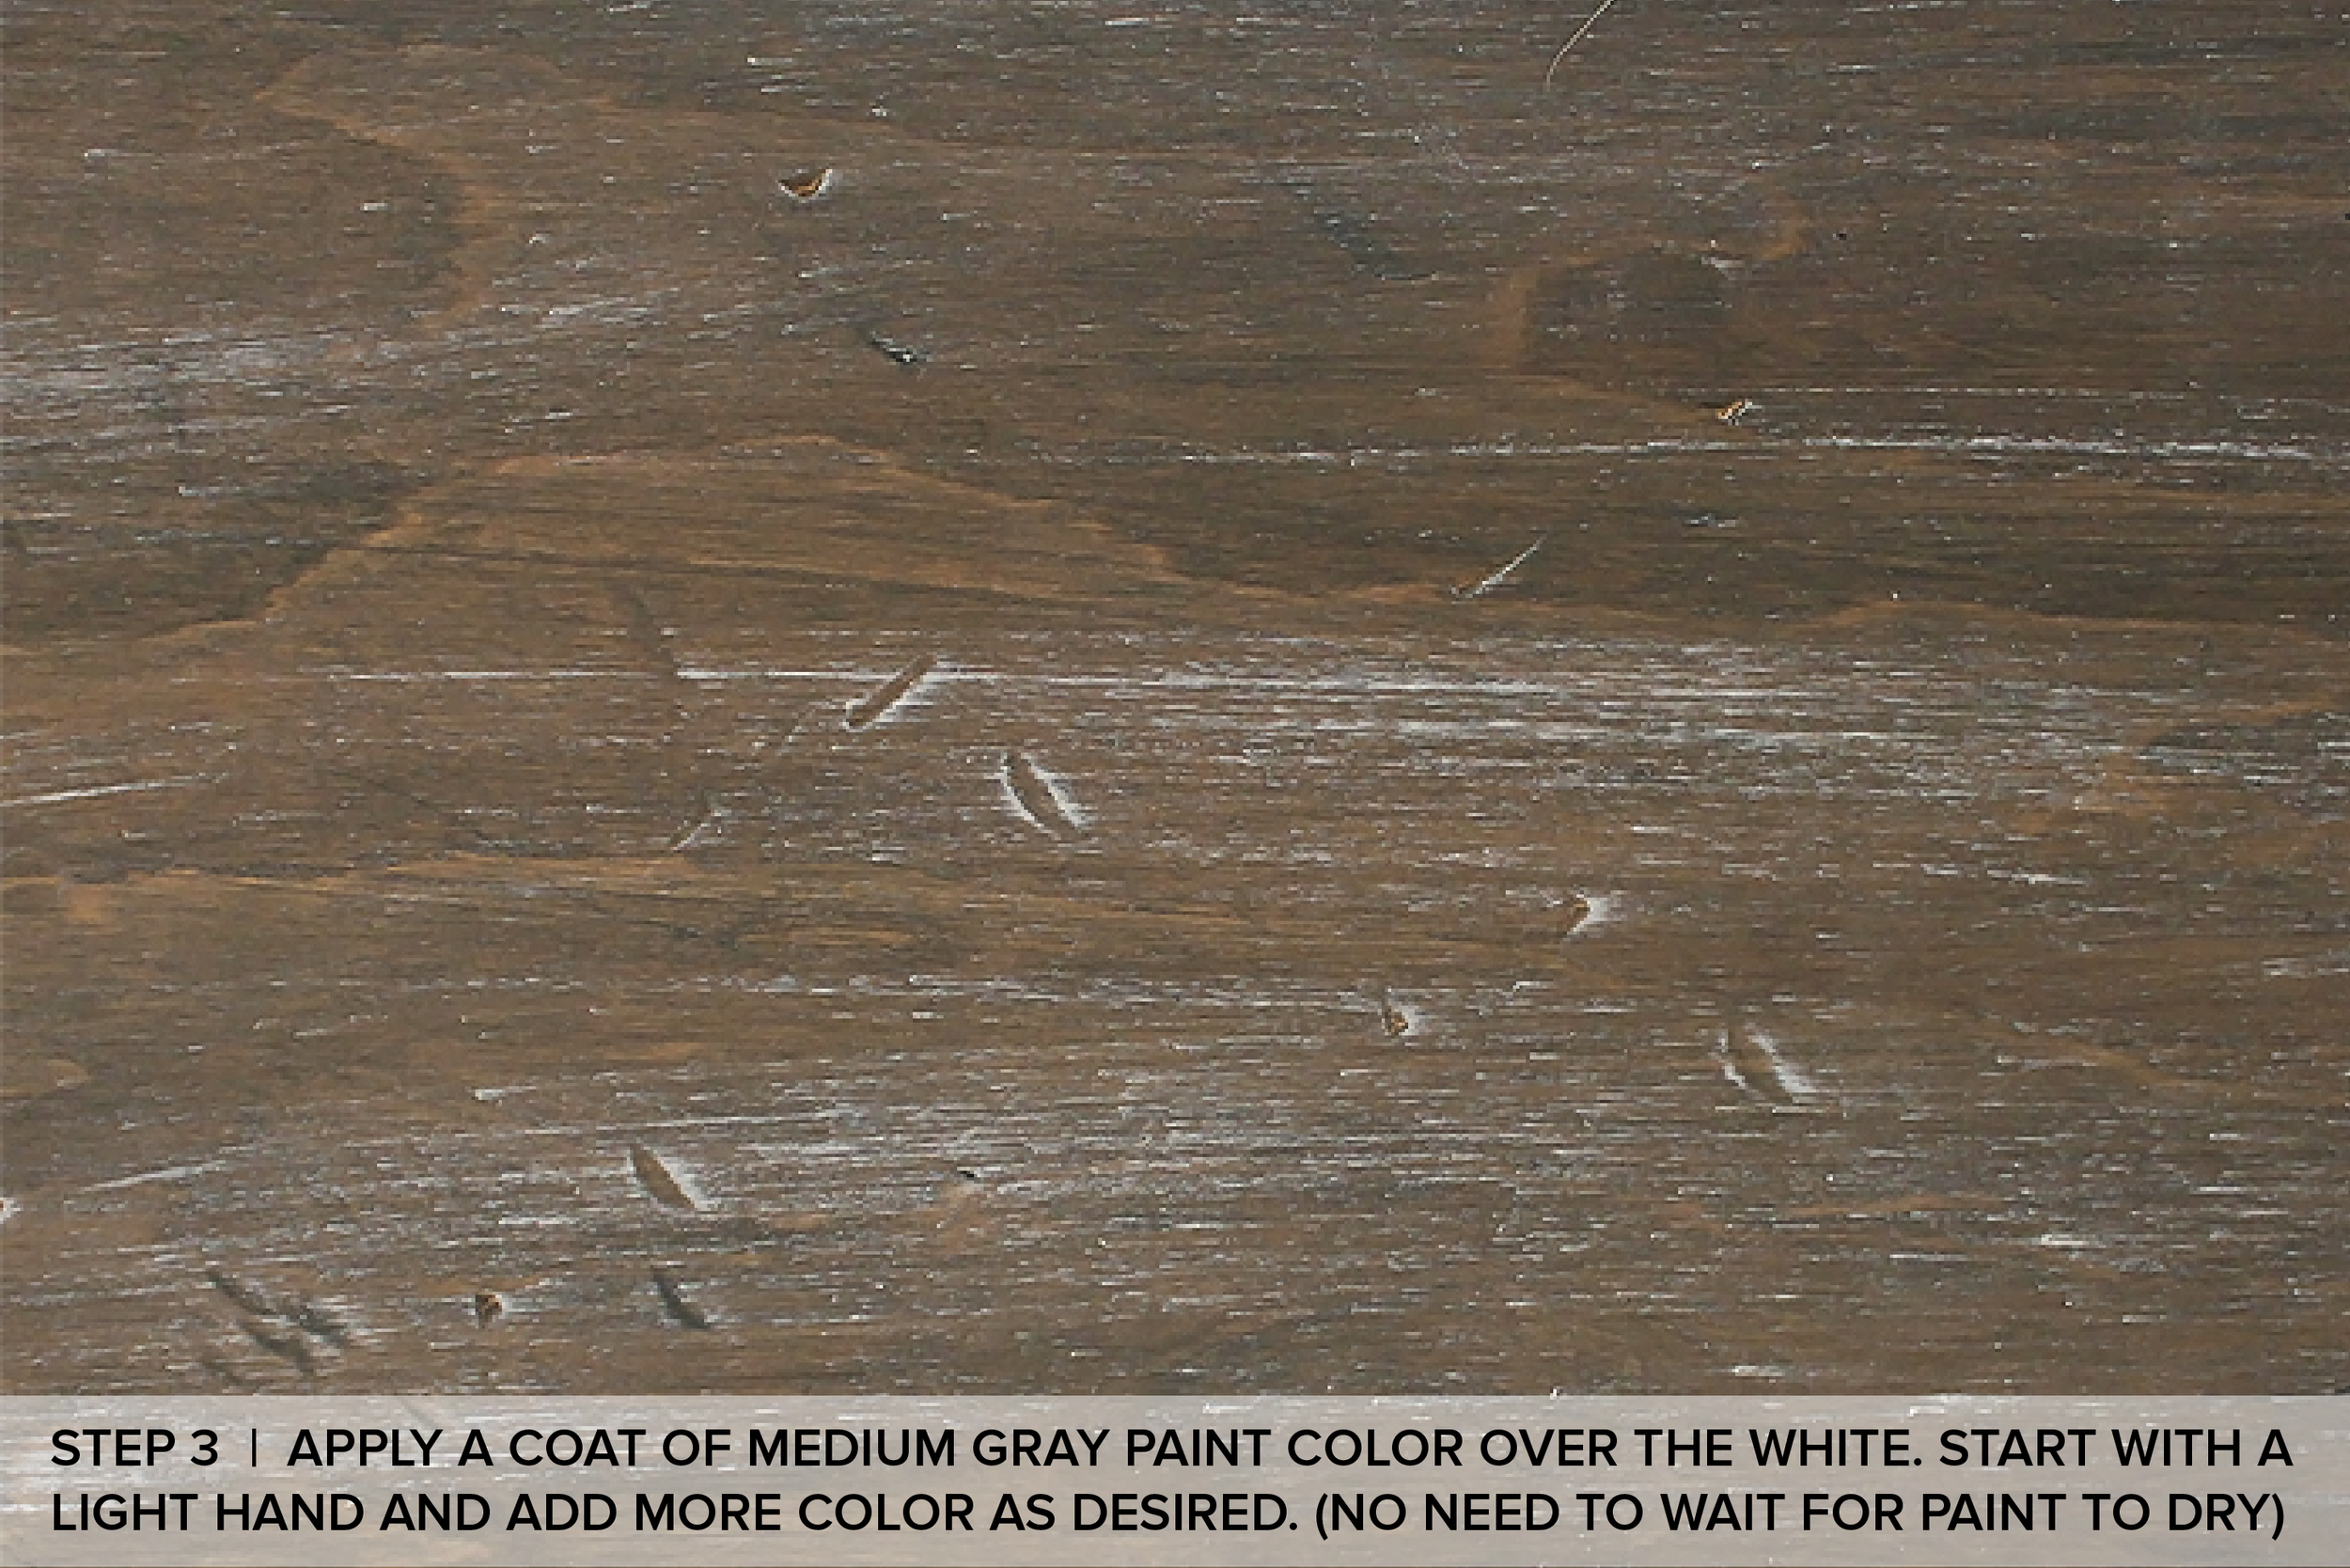
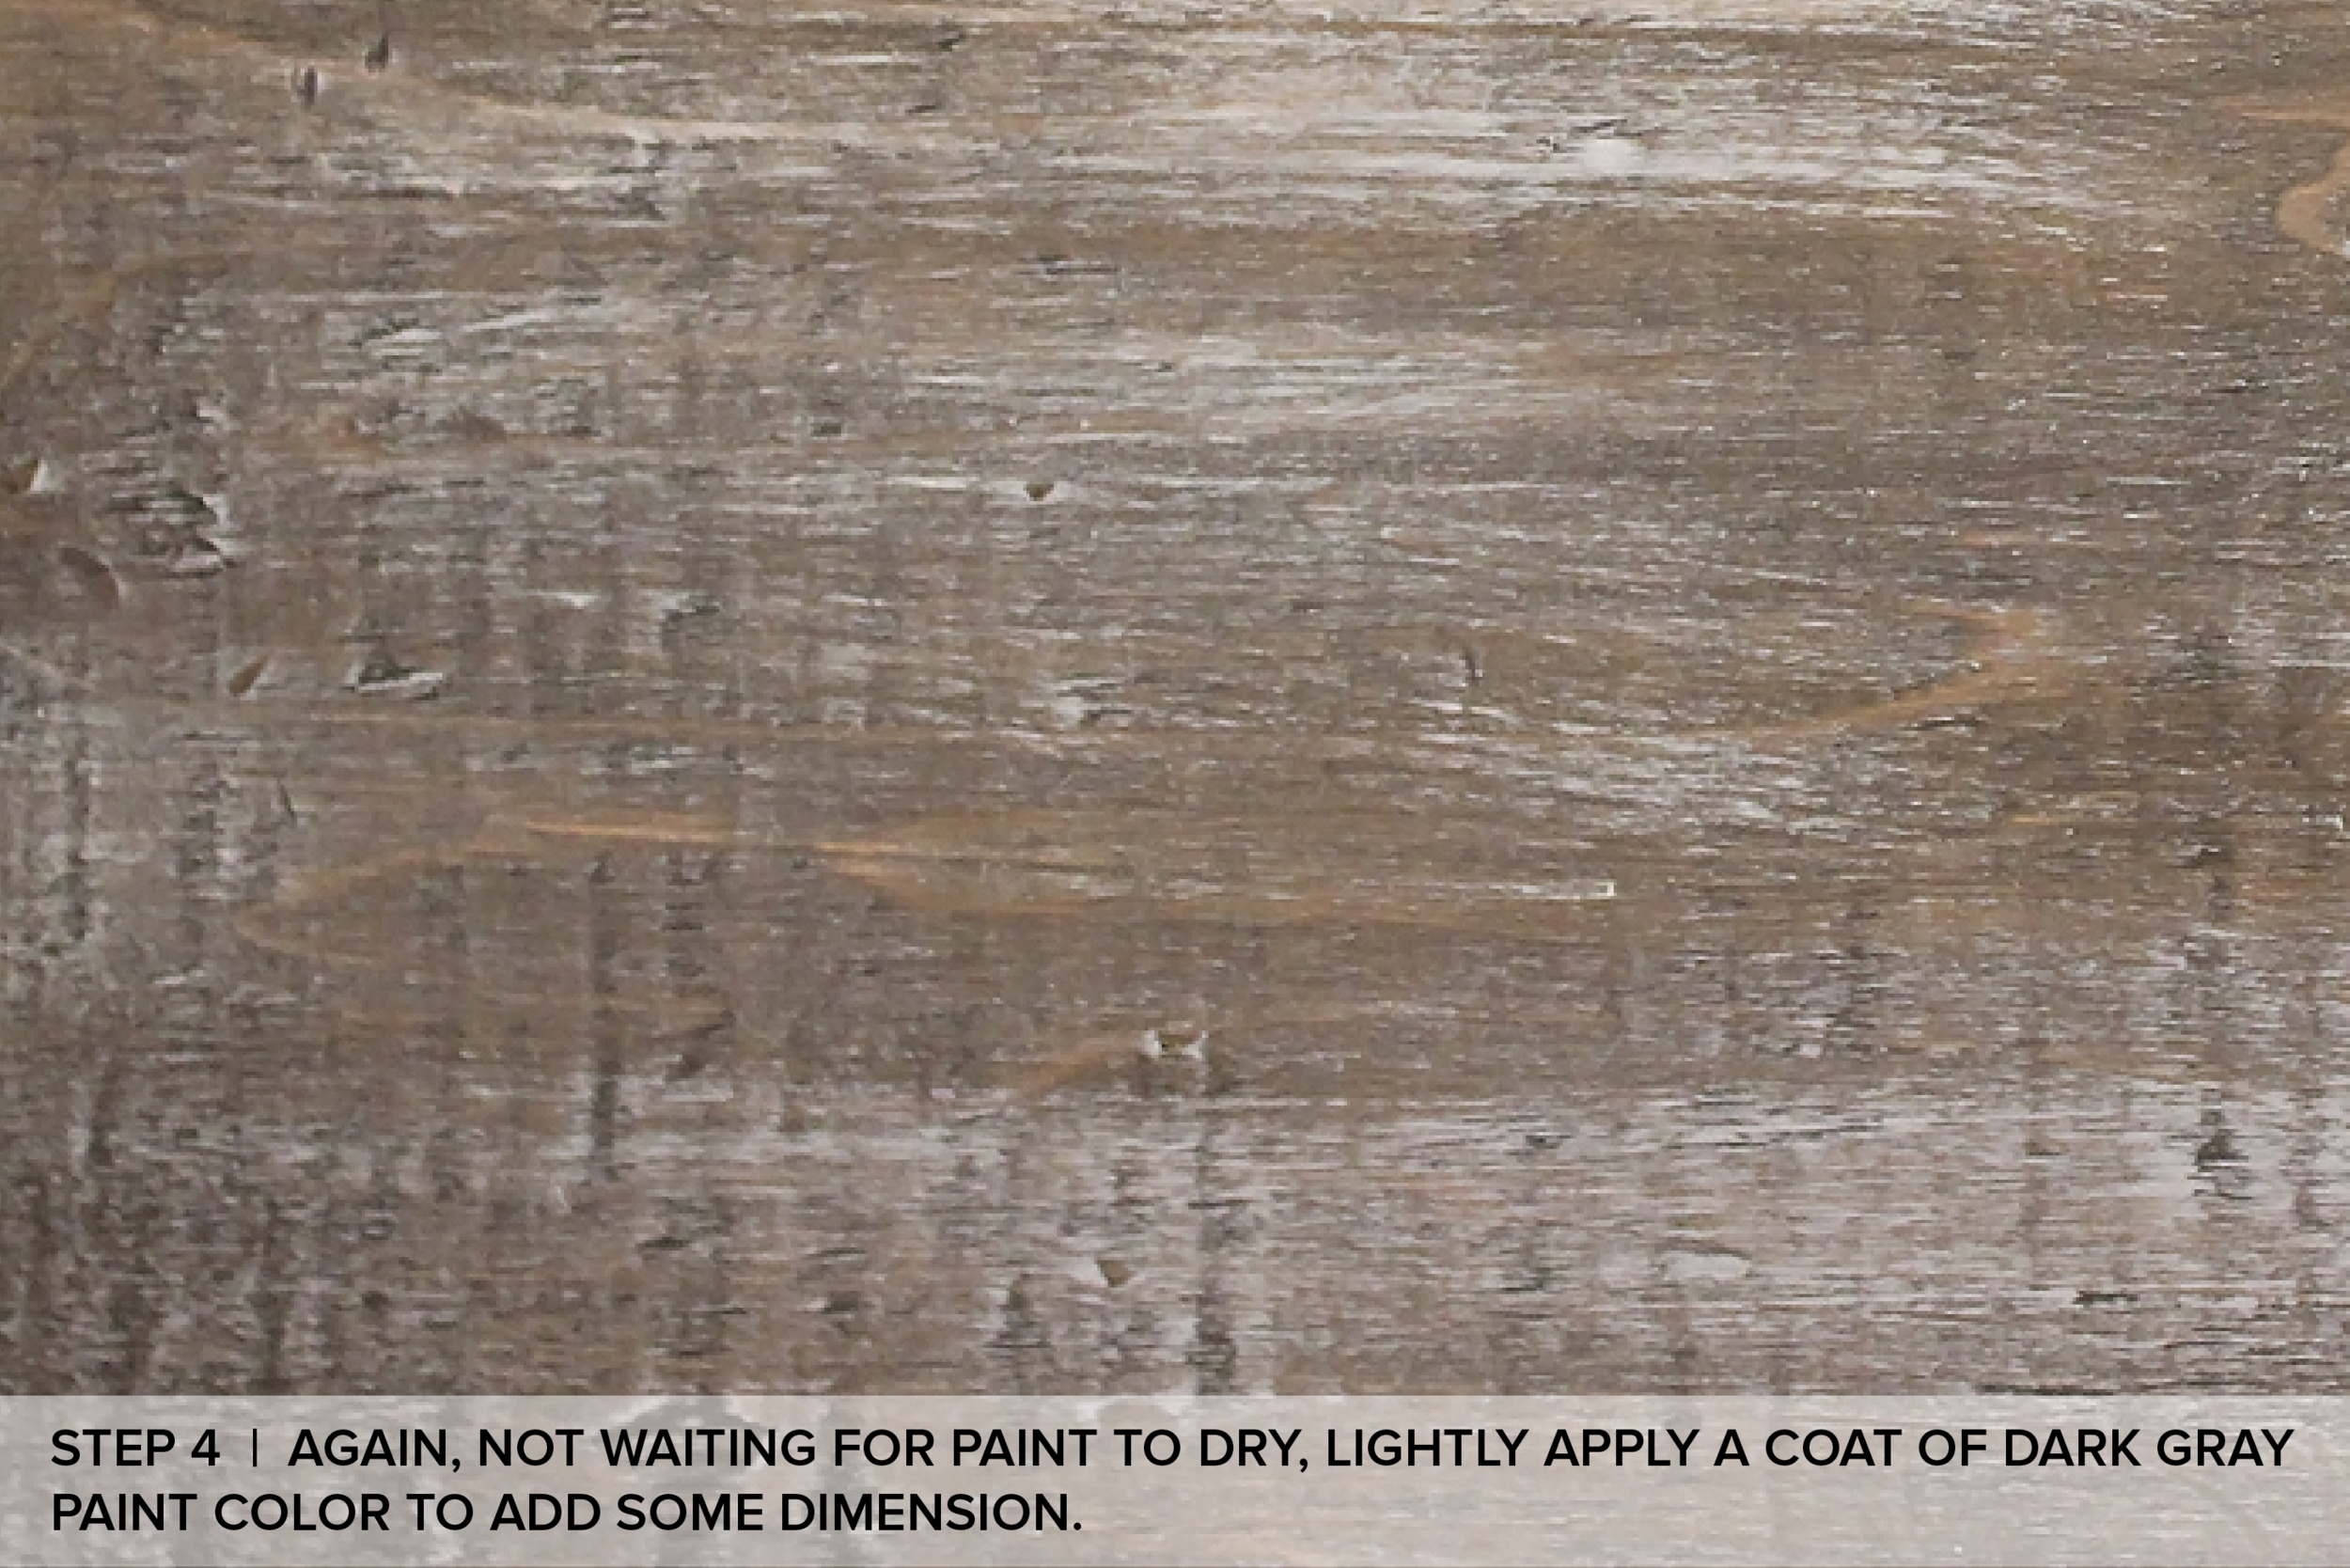
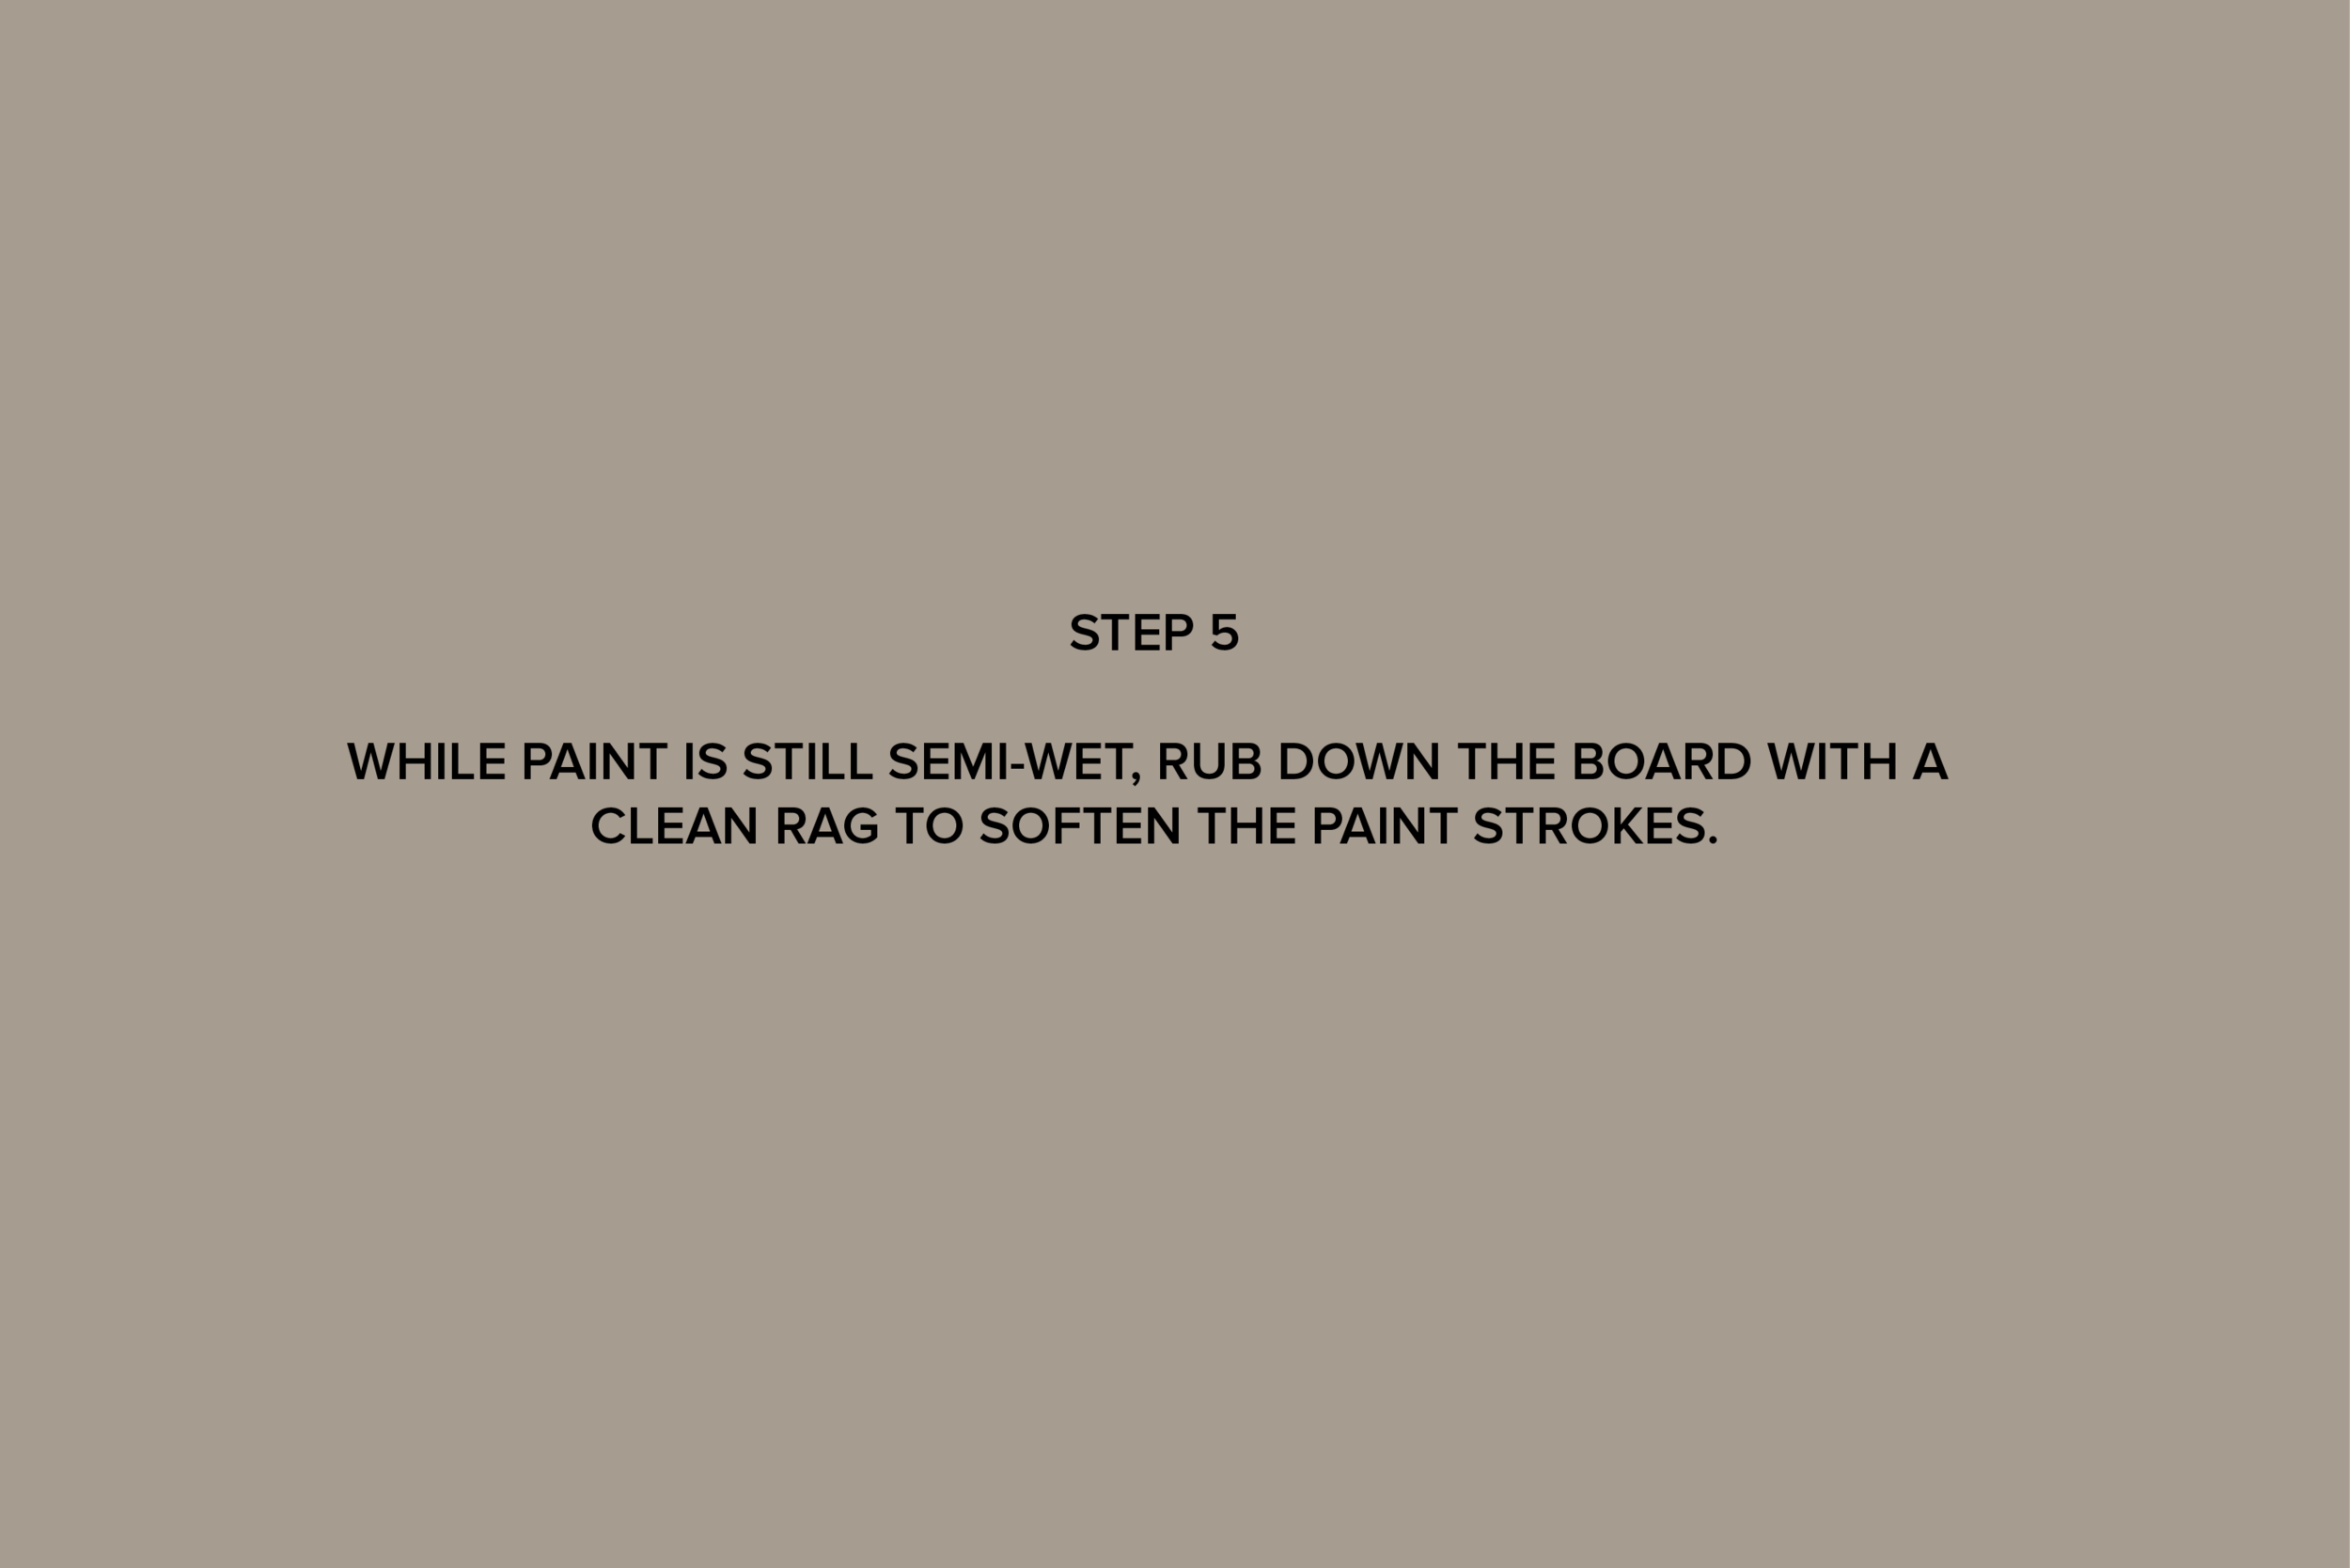
The best part of this project is that you don't have to wait for the paints to dry in between coats. First, you use so little paint with each coat that dry time is really quick. Second, it looks more authentic to have the paint colors blend together. If you have some scrap wood laying around, you can give this faux finish a try for yourself. (Scroll to bottom of post for the tutorial.)
DIY TIP | If you only have plywood and you want the plank look, simply cut the plywood sheet into 6" or 8" widths.


SUPPLies needed
This barn board background was made with leftover paints and stains I had around the house. I've noted the colors I used, but feel free to use what you have that are in the gray family. When making backgrounds for photo props, it's always a good idea to use paints with a flat sheen so they don't catch any glare in the camera.
- Maple plywood or any scrap wood with wood grain
- Hammer
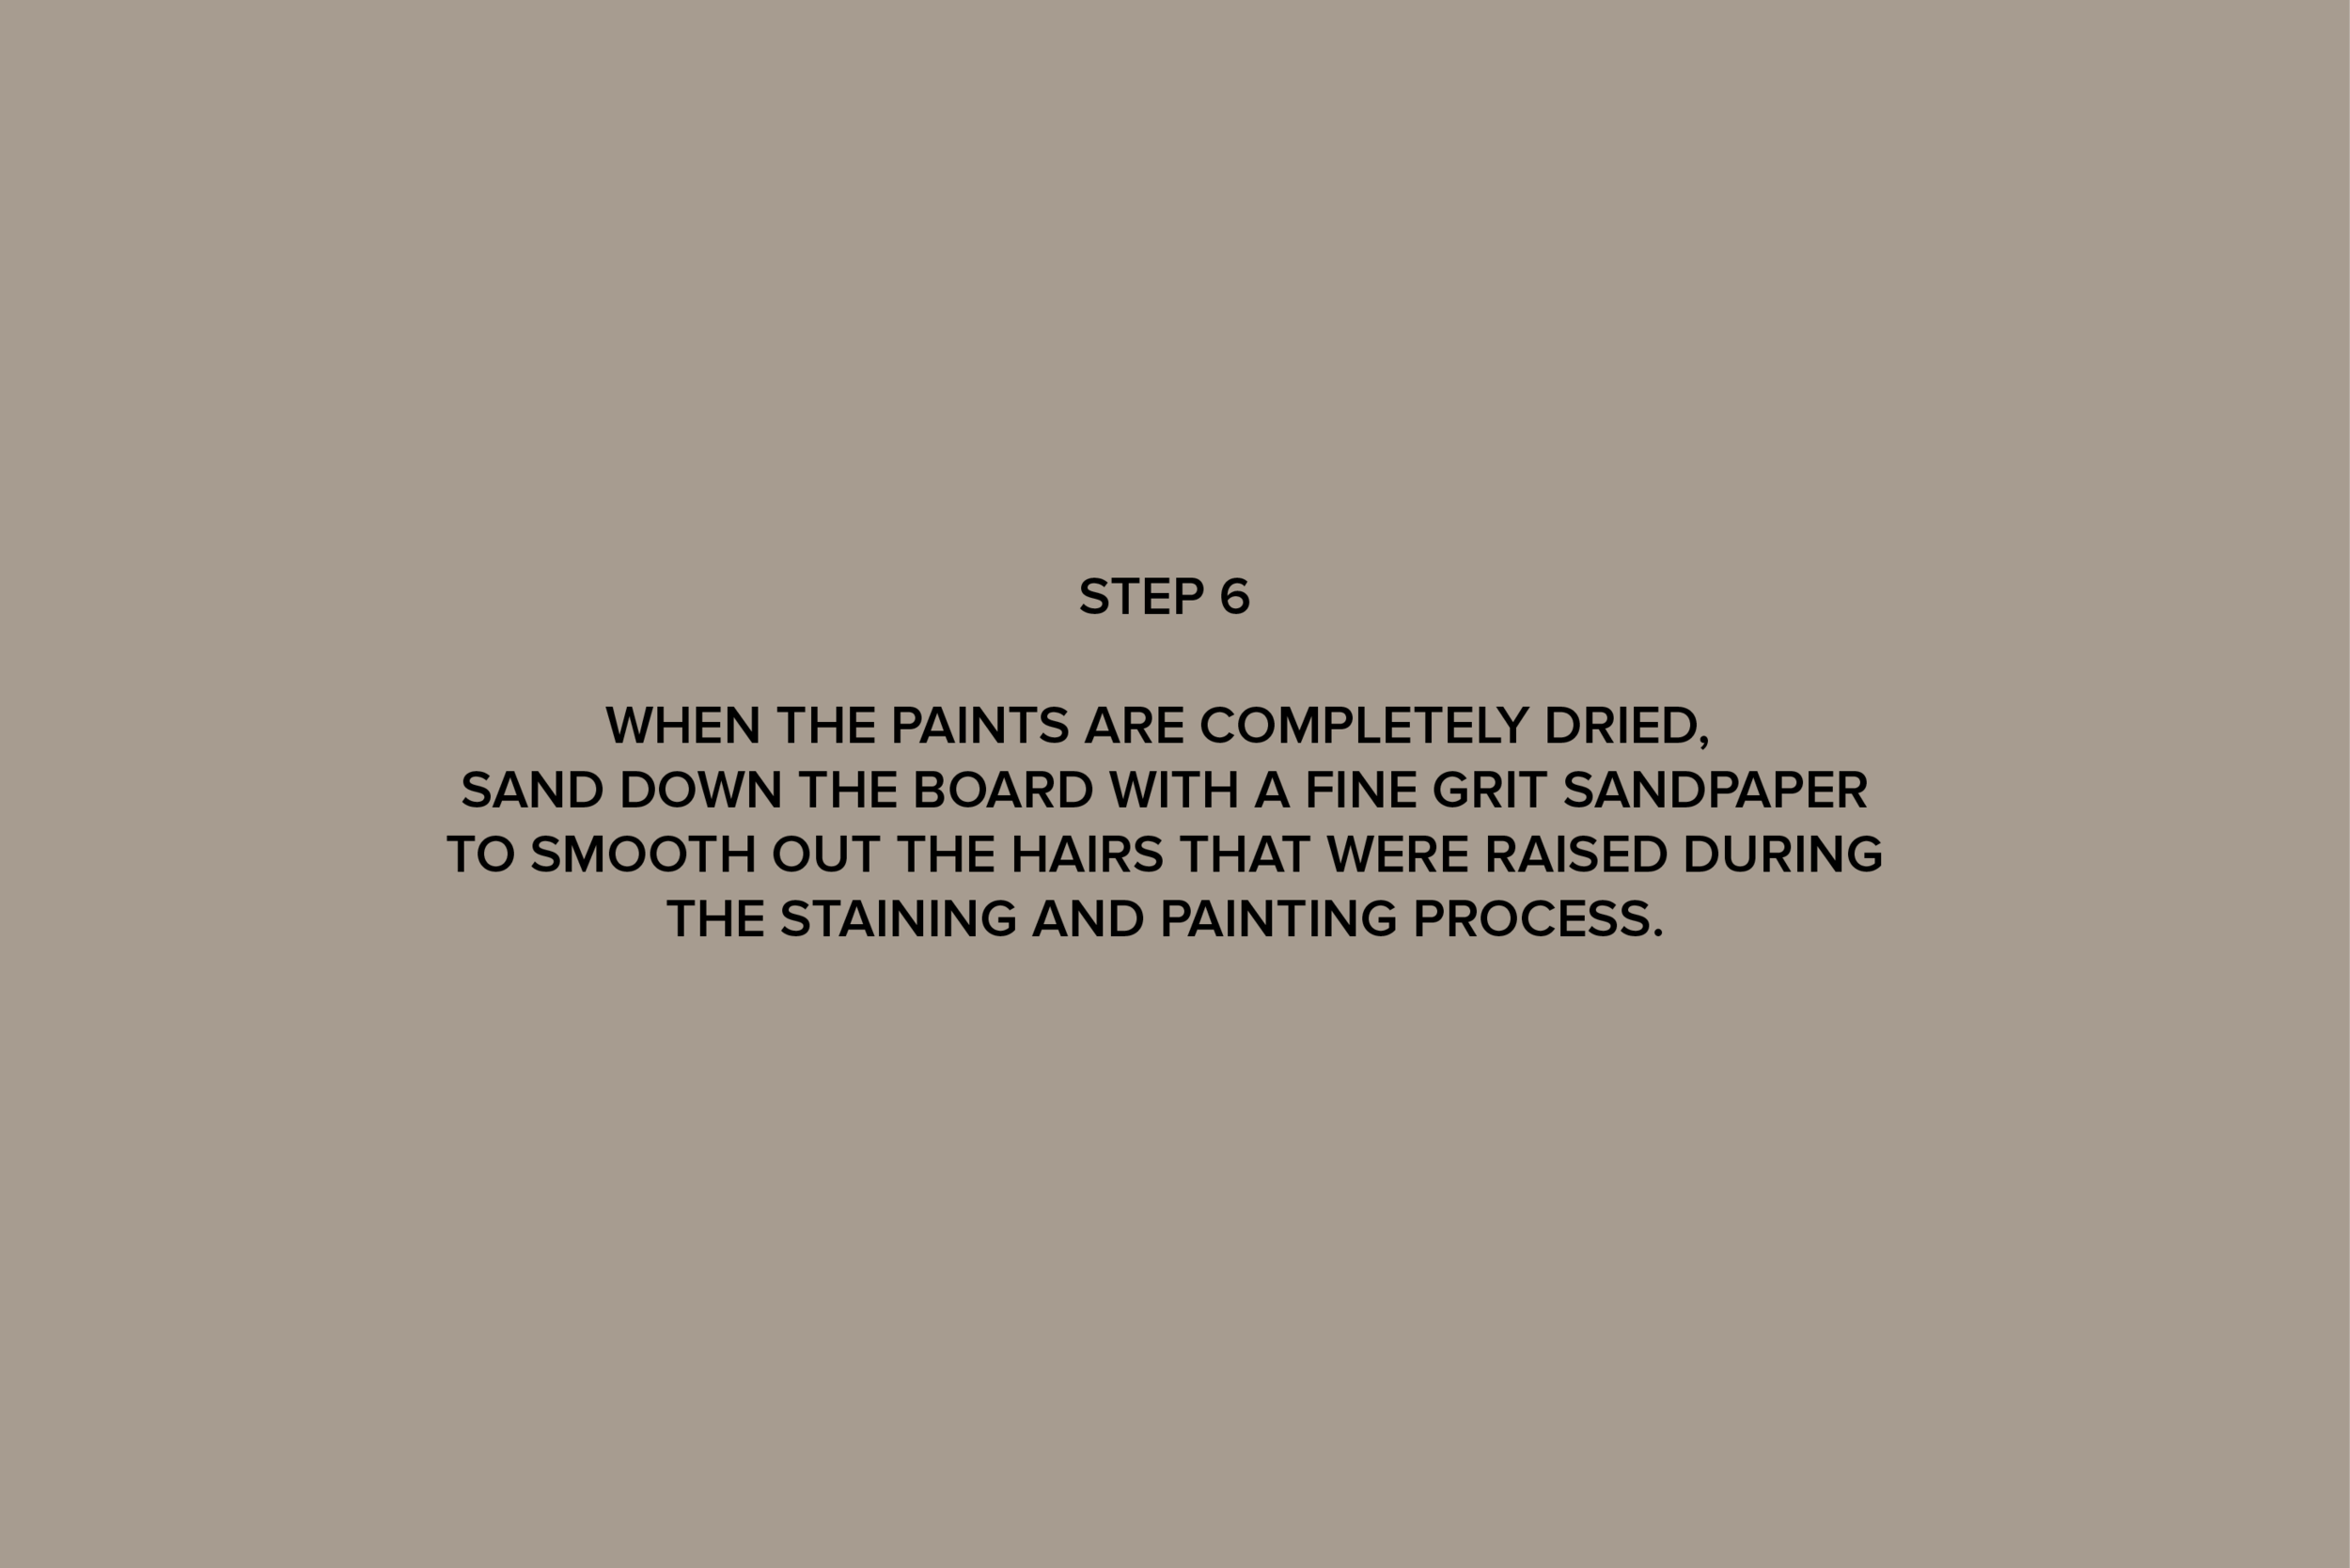
- Fine grit sandpaper (150-200 grit)
- Paintbrush
- Clean rag
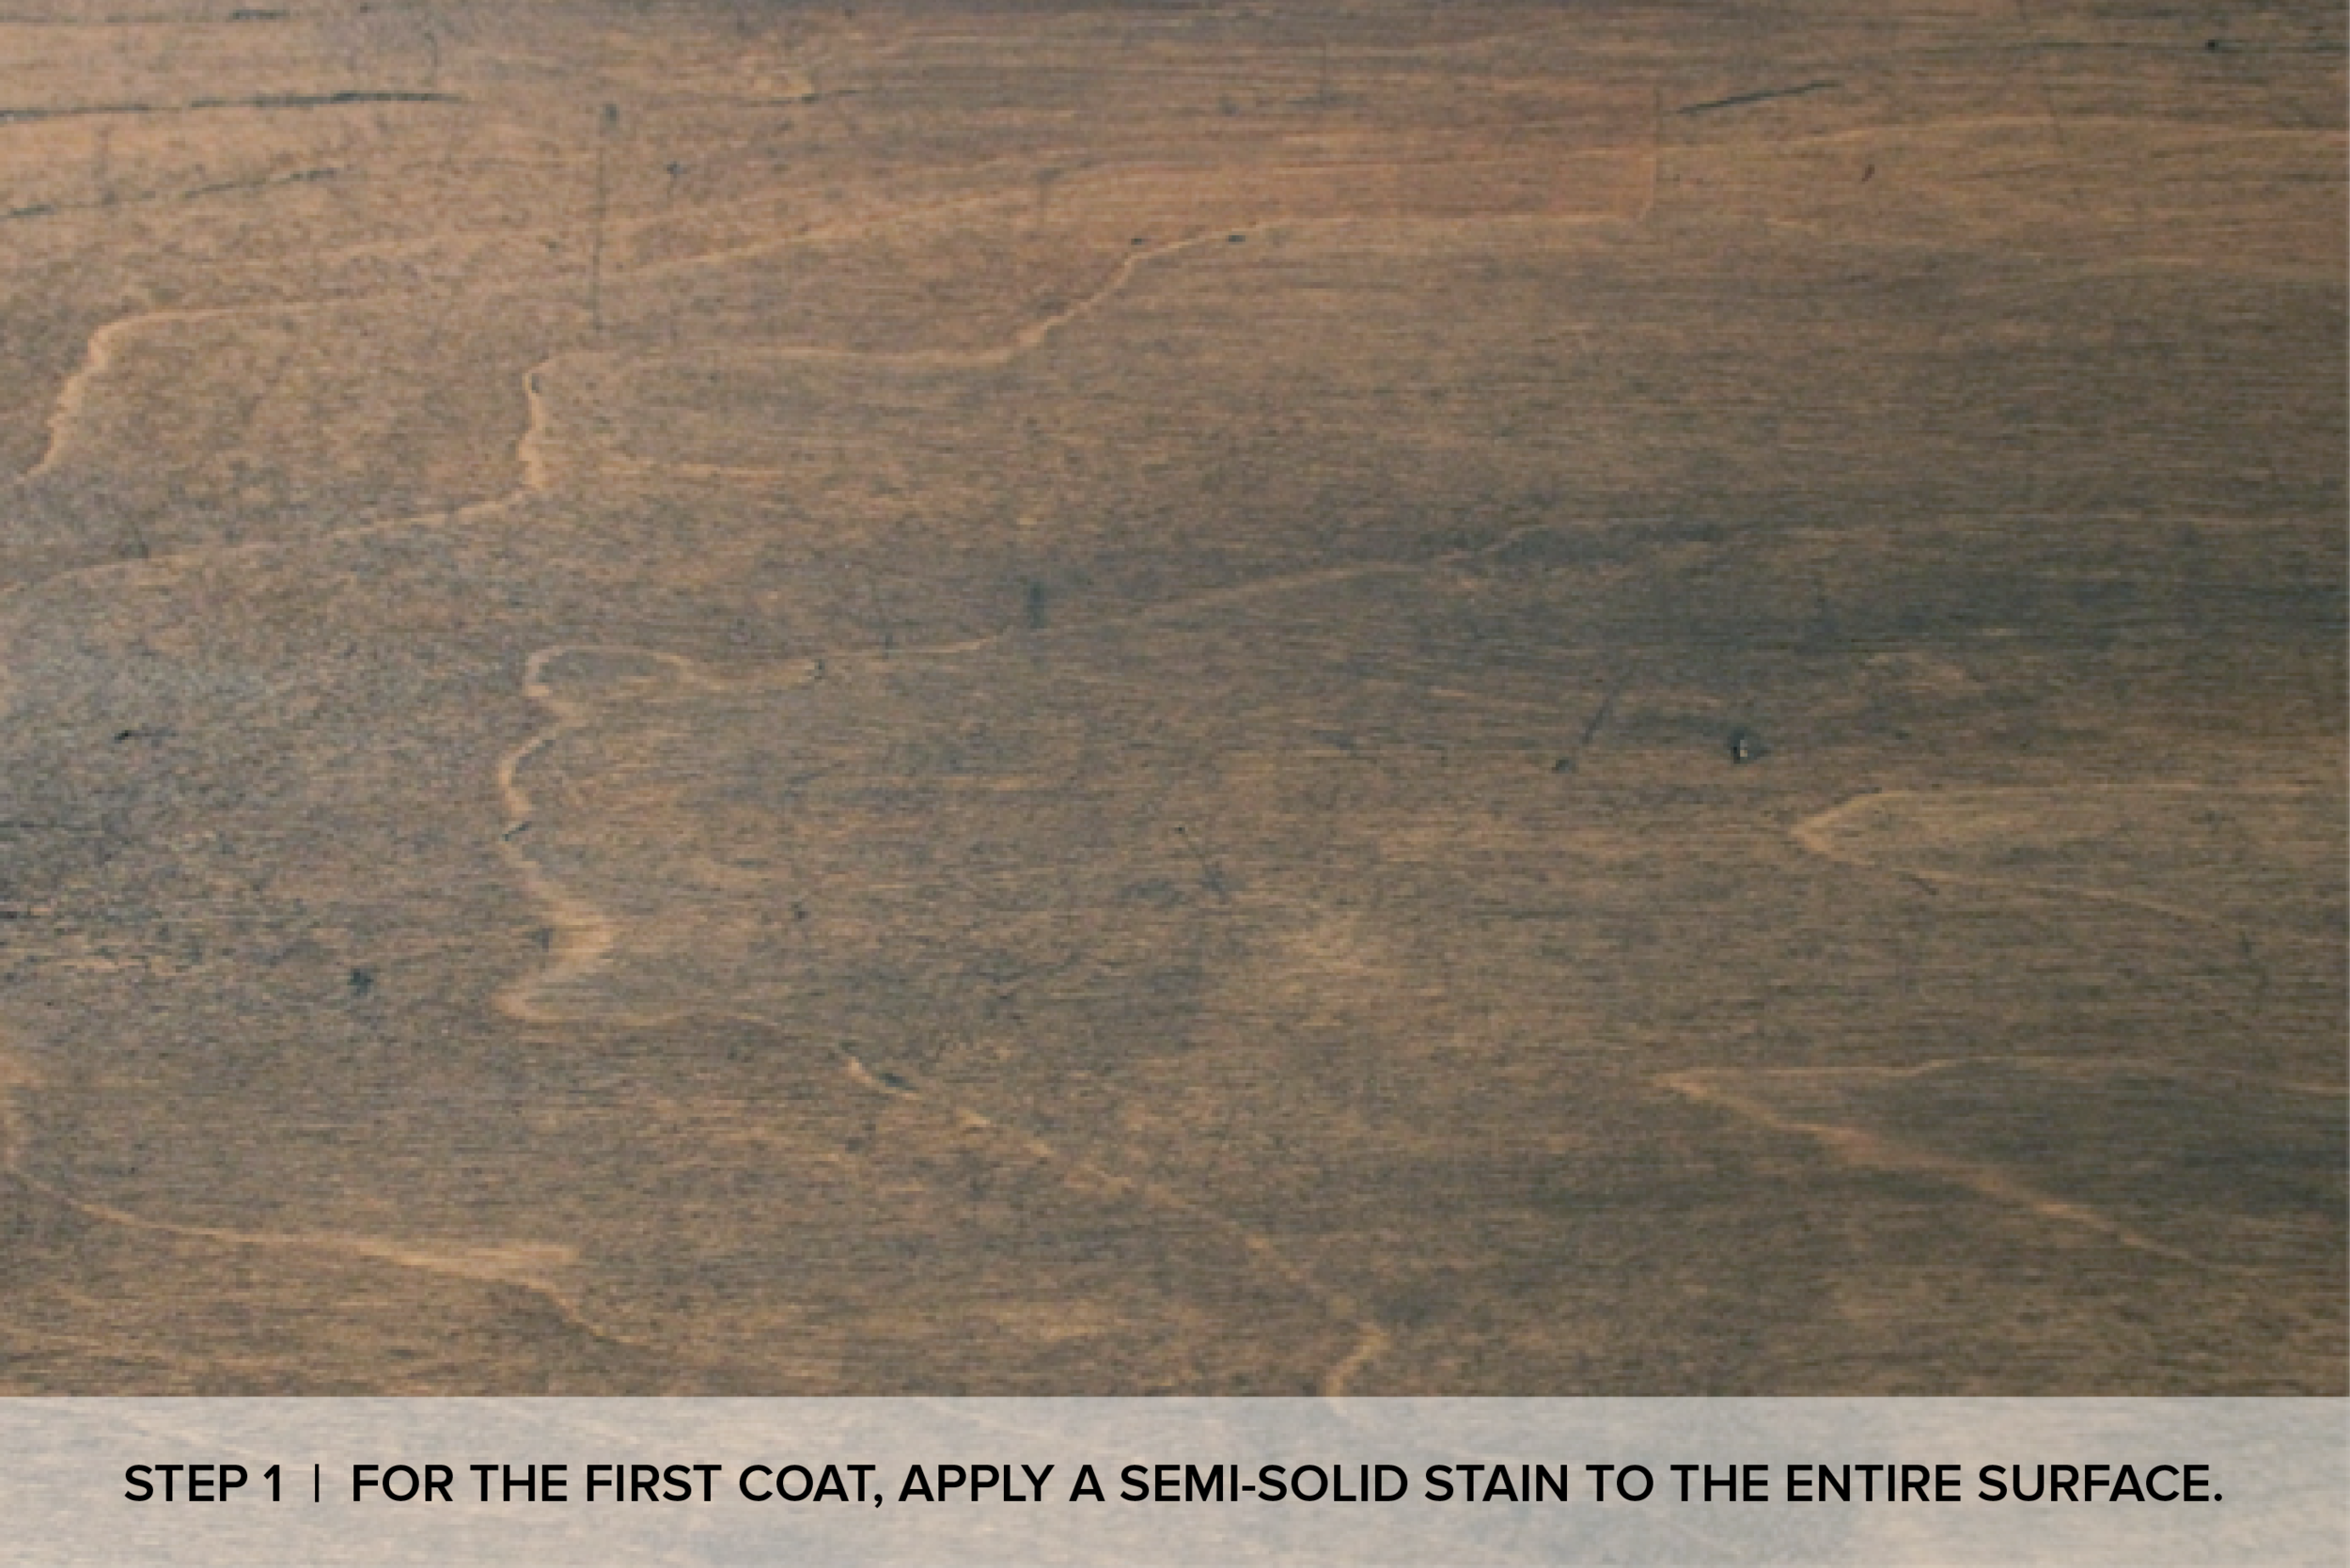
- Semi-solid stain (I used Benjamin Moore Dragon's Breath)
- Untinted flat white latex paint
- Medium gray latex paint, flat sheen (I used Sherwin Williams Sweatshirt)
- Dark gray latex paint, flat sheen (I used Benjamin Moore Iron Mountain)

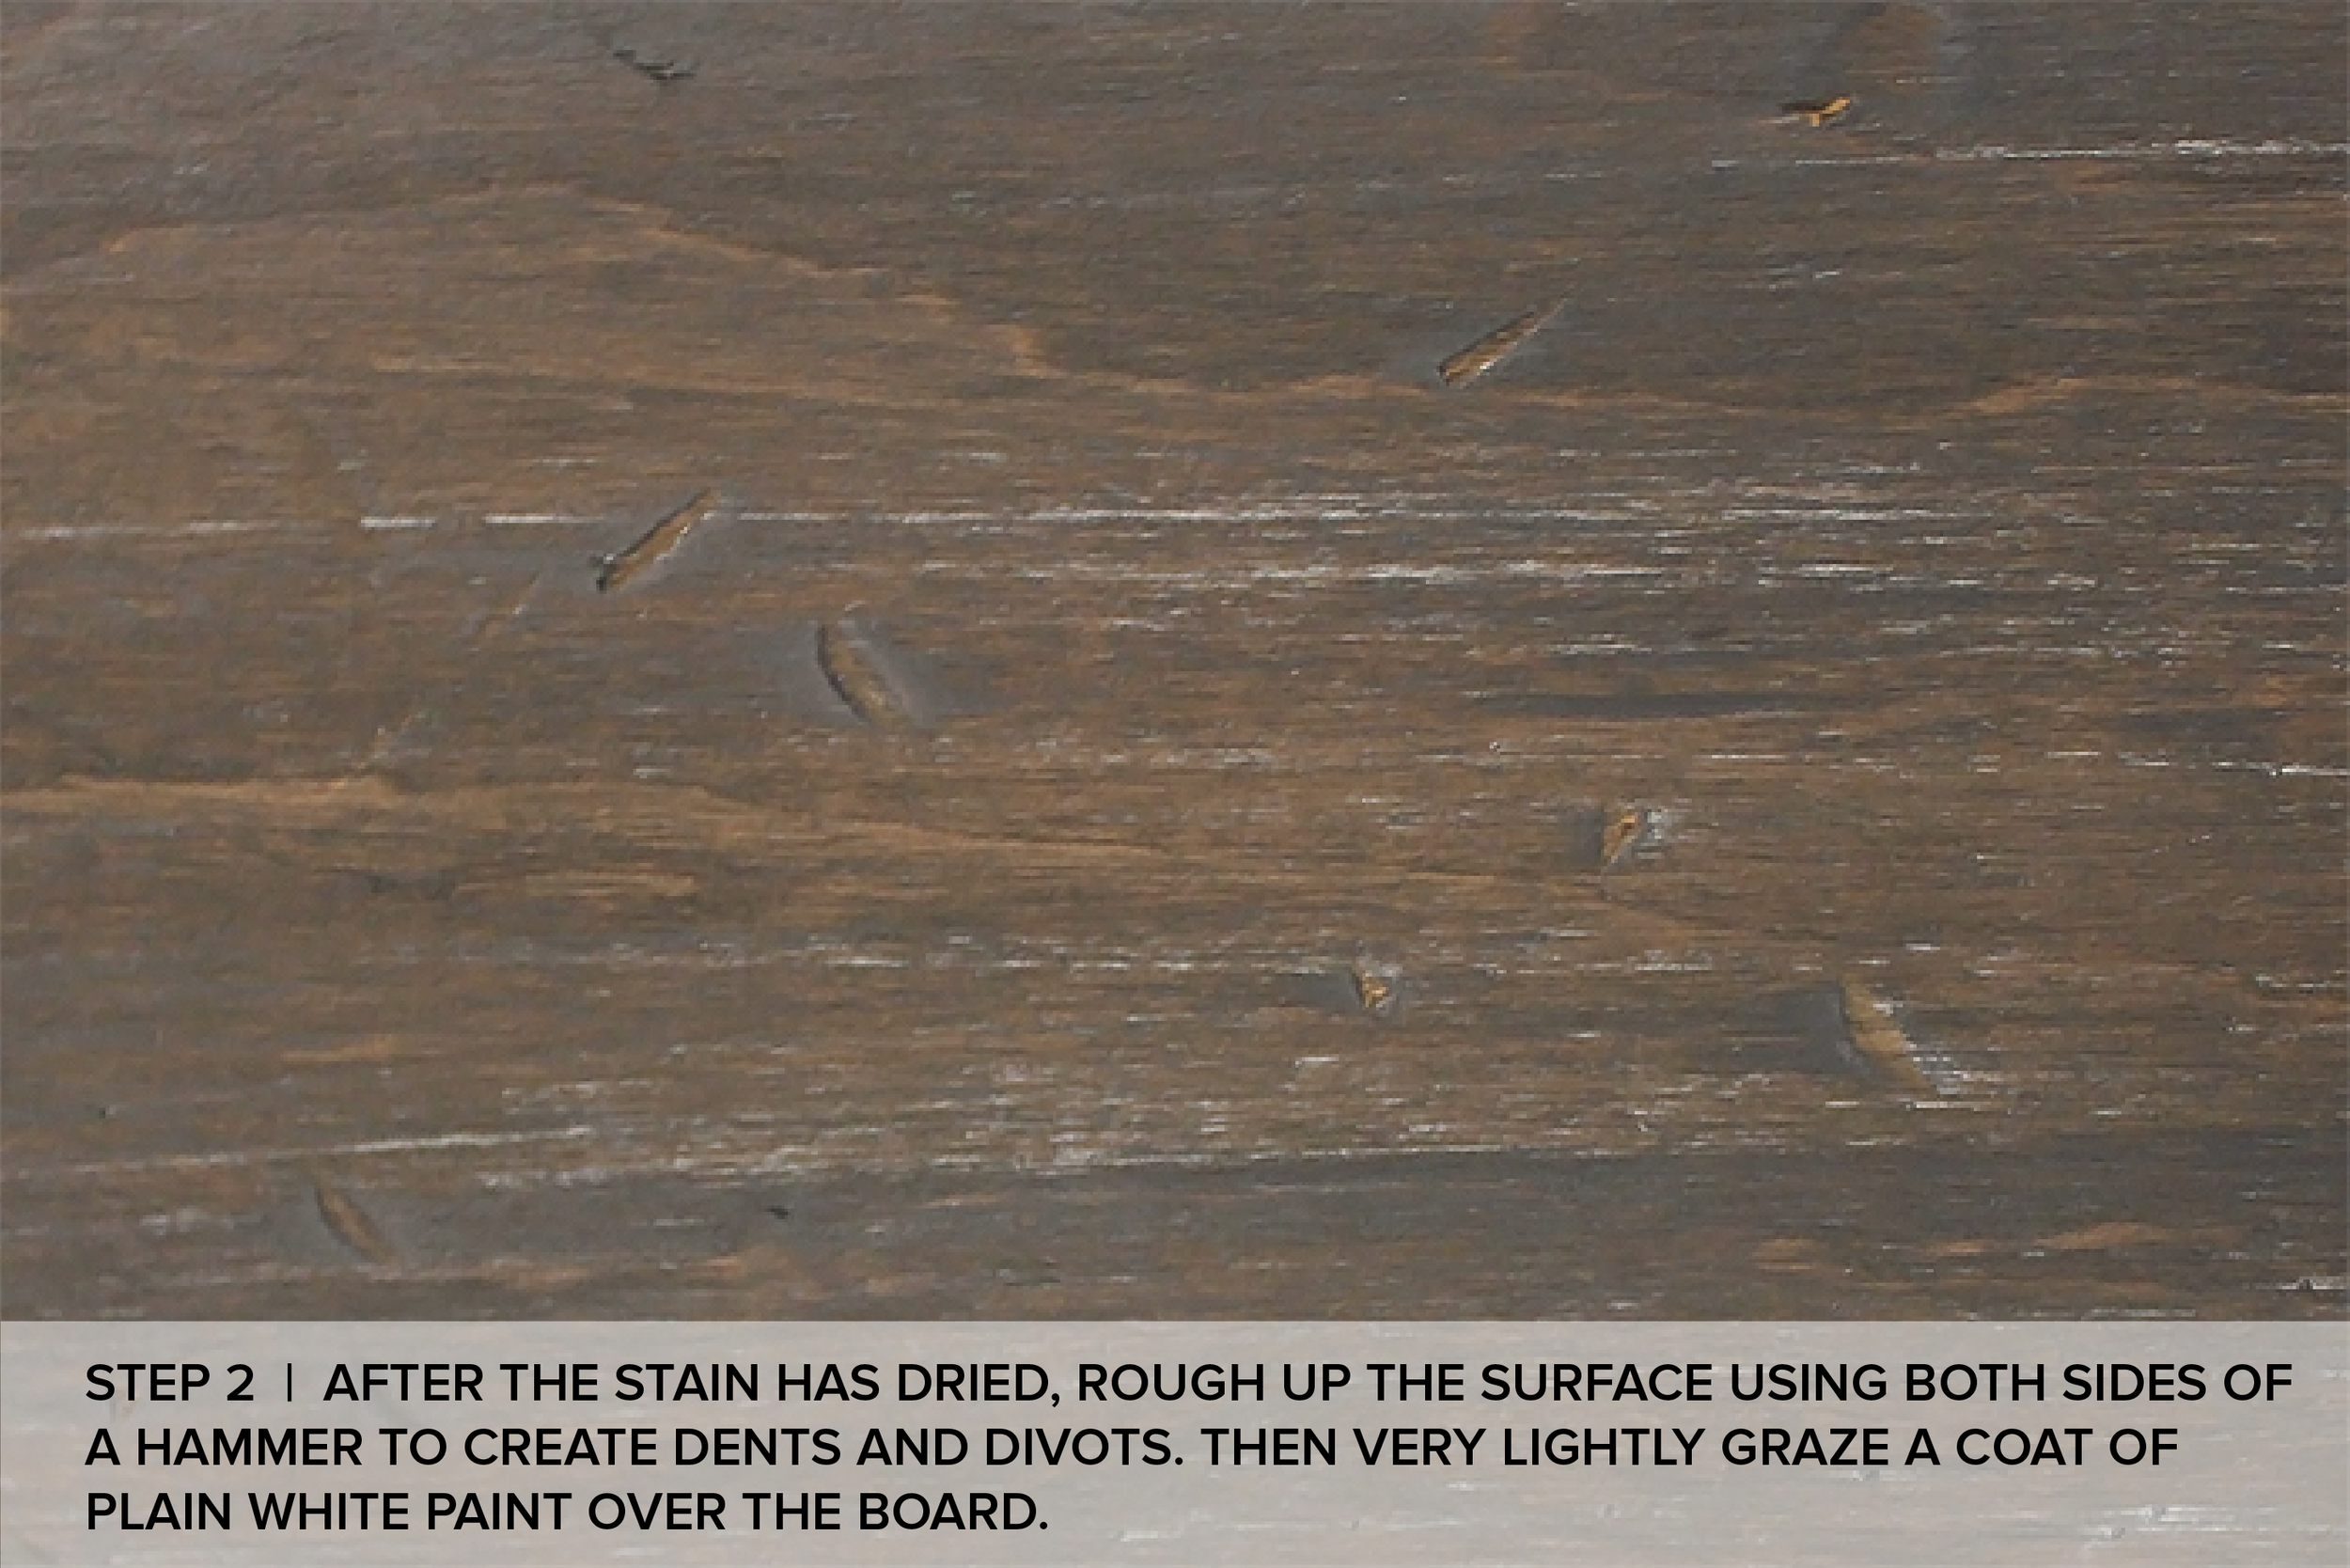
DIY TIP | While making this background is pretty much foolproof, it can easily get ruined by using too much paint. I recommend using a dry brush technique where you load a touch of paint on your brush and dab out all the excess paint on a scrap board or paper before applying the paint to the wood. Then lightly graze the paintbrush the full length of the board following the grain of the wood. Build up your paint layers as you go until you achieve the amount of "weathering" you desire.

Subscribe to the monthly newsletter and
get FREE access to The Stylist Vault!